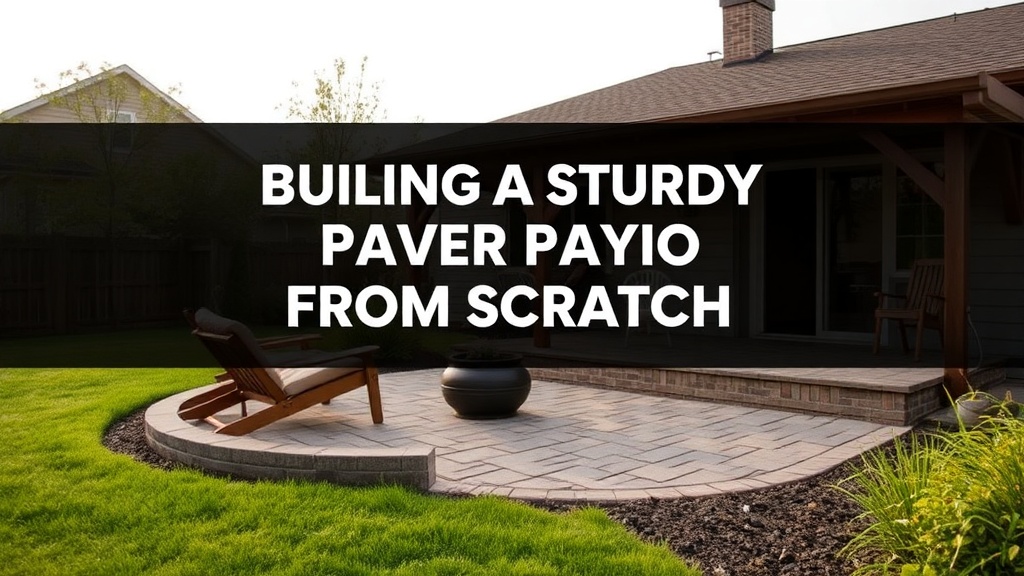
Building a Sturdy Paver Patio from Scratch

Learn how to lay a level, long-lasting paver patio for your backyard.
You'll learn the exact steps to prep your ground, lay a solid base, and set pavers so they don't shift or sink after the first big rain. A patio isn't just about the pretty stones you pick out at the store; it's about what lies underneath them. If you skip the heavy lifting on the subgrade, you're going to end up with a bumpy, uneven mess within a single season. I've seen too many folks try to save a few bucks on gravel and end up fighting a losing battle with weeds and shifting pavers.
What tools do I need for a paver project?
Before you go out and buy your first pallet of stones, you need to make sure your garage or shed is actually ready. You can't do this with a handheld shovel and a prayer. You're going to need more than just a basic rake. Here is your checklist:
- A heavy-duty shovel: For moving dirt and gravel.
- A plate compactor: This is non-negotiable. You can rent these from local tool shops, but don't try to use a hand tamper for a large area.
- A long level: To ensure your pitch is correct.
- Rubber mallet: For setting the pavers without cracking them.
- PVC pipe or a garden hose: To help with leveling the sand.
- Edging restraints: To keep the stones from migrating outward.
If you're unsure about the weight of the materials you're ordering, check out the Lowes or Home Depot product weight specifications. You'll be moving a lot of heavy stuff, so plan your delivery accordingly.
How do I prep the ground for a patio?
The most common mistake I see is not digging deep enough. You aren't just laying stones on grass. You have to remove the organic material—the grass, the roots, and the topsoil—entirely. If you leave any grass under there, it will rot and create a void. Once the grass is gone, you'll add layers of crushed stone (often called ¾-inch minus gravel) and compact it thoroughly.
You want to aim for a pitch of about one inch of drop for every four feet of distance away from your house. This ensures water runs away from your foundation. If you don't do this, you're asking for a flooded basement or a soggy patio. I always tell my neighbors: water is your enemy if it stays near the house. Use a transit level or even just a long straight board with a level on top to check your work as you go. The gravel layer should be about 4 to 6 inches deep, and you need to run that plate compactor over it until it feels like a solid road.
How thick should the sand layer be?
After your gravel is packed down, you'll add a layer of bedding sand. This layer is much thinner—usually about an inch—and its job is to create a smooth, flat surface for the pavers to sit on. Use a screed board (a straight piece of wood) to level the sand. Do not walk on the sand once you've leveled it! If you walk on it, you've ruined the level surface you just worked so hard to create.
Once the sand is smooth, start laying your pavers. Start from a straight edge—like your house or a pre-built edge—and work your way out. Use your rubber mallet to tap each stone into place. If one stone is sitting a bit high, don't just ignore it. Pull it up, add a tiny bit of sand, and set it again. Consistency is what makes a patio look professional rather than a DIY disaster. Once the pavers are all in place, sweep them together, but leave a small gap between them for the sand to fill.
How do I finish the edges and joints?
Once your pavers are set, you need to fill the joints with polymeric sand. This isn't your standard play sand. Polymeric sand contains additives that harden when wet, which helps prevent weeds from growing through the cracks and keeps ants from making homes in your patio.
- Sweep the sand: Pour the sand over the patio and use a broom to push it into every single crack.
- Vibrate the stones: Run that plate compactor (with a protective mat underneath so you don't scratch the stones) over the top one last time to settle the sand deep into the joints.
- Sweep the excess: Get every single grain of sand off the surface of the stones. If it stays on top, it will look cloudy and ugly.
- Mist with water: Use a garden hose to very lightly mist the sand. Don't soak it! You want to activate the polymers, not wash the sand away into the dirt.
This process takes a bit of patience, but it's what keeps the patio looking clean for years. If you rush the watering part, you'll end up with a muddy mess. Take your time with the misting process—it's a fine spray, not a blast from a nozzle.
Building a patio is a big job, but it's one of the most rewarding things you can do for your home. It adds actual living space to your yard. Just remember: the work is in the prep. If you get the base right, the rest is just playing with blocks.