Designing a Fire Pit Area for Cool Autumn Evenings

Research shows that a well-placed outdoor fire feature can increase your property value by up to 15% in certain markets. This guide covers how to select the right materials, plan your layout, and set up a safe, comfortable seating area for the fall season. You'll find technical advice on heat clearance, ground preparation, and choosing between gas and wood-burning systems.
How Much Space Do I Need for a Fire Pit?
You need a minimum of 10 feet of clearance between the fire pit and any combustible structures like your house, wooden deck, or low-hanging trees. Safety isn't a suggestion—it's the law in most jurisdictions, and it keeps your home from burning down. If you're building this near a deck, you should check the National Fire Protection Association guidelines to ensure your spacing meets local fire codes.
I've seen plenty of folks try to squeeze a fire pit into a tight corner of a patio. It’s a mistake. You need room to move around the fire without feeling like you're going to trip over a chair or get too close to the embers. A good rule of thumb is to allow at least 3 to 4 feet of "walking zone" around the entire perimeter of the seating area. This gives people enough room to get up and grab a drink without dancing around a hot flame.
If you're building on a deck, stop right there. Unless you're using a specialized, heat-shielded metal insert designed for wooden surfaces, don't put a fire pit directly on a wood deck. It’s a massive fire hazard. Instead, build a small stone patio or a dedicated gravel pad nearby. It’s much safer and looks a lot more professional.
What Are the Best Materials for a Fire Pit?
The best materials for a fire pit are fire-rated masonry or heavy-duty metal that can handle high heat without cracking or melting. You can't just use any old rocks you find in the backyard; many stones can explode when they get too hot due to trapped moisture. You want materials like basalt, granite, or specialized fire bricks.
Here is a breakdown of the most common materials I use on the job:
| Material Type | Pros | Cons |
|---|---|---|
| Steel/Iron | Durable, classic look, easy to move. | Can rust over time; high heat. |
| Natural Stone | Looks great, lasts forever, heavy. | Hard to build, expensive. |
| Concrete Pavers | Easy to install, modern look. | Needs a solid foundation. |
| Gas Inserts | Instant heat, no smoke, clean. | Requires gas line installation. |
If you want that rugged, permanent look, go with stone. If you want something you can pull out of the garage when the weather gets bad, a steel fire bowl is your best bet. I often recommend a high-quality brand like Solo Stove for people who want a portable wood-burning option that doesn't produce a ton of smoke. It's a great middle ground between a permanent structure and a temporary fire pit.
Preparing the Ground
Don't just throw a fire pit on your grass. The heat will kill the grass, and eventually, the heat will scorch the dirt. You need a stable base. I usually start by digging out about 4 to 6 inches of sod and dirt. Then, I lay down a layer of crushed gravel or leveling sand. This prevents the ground from shifting and keeps your pit from looking crooked after one season. If you're building this near your garden beds, make sure you've cleared any organic debris. If you've recently been adding fresh mulch to your garden, be extra careful—mulch is highly flammable and should stay well away from the heat zone.
How Do I Make a Fire Pit Comfortable for Fall?
Comfort comes down to two things: heat direction and seating height. You want your seating to be positioned so the heat hits your legs and midsection, not just your face. If the wind is blowing, you'll want to adjust your seating layout to account for the breeze. In the fall, the ground gets damp and chilly, so you need to think about more than just the fire itself.
I always tell my clients to think about "layers" of comfort. It’s not just about the fire. It's about the atmosphere. Consider these three layers:
- The Heat Source: Whether it's a roaring wood fire or a steady gas flame, ensure it's the centerpiece.
- The Seating: Avoid flimsy plastic chairs. You want something substantial. Adirondack chairs are a classic for a reason—they're sturdy and designed for long periods of sitting.
- The Textiles: Keep some heavy wool blankets or outdoor-rated cushions nearby. A thick throw can make a $50 chair feel like a luxury lounge.
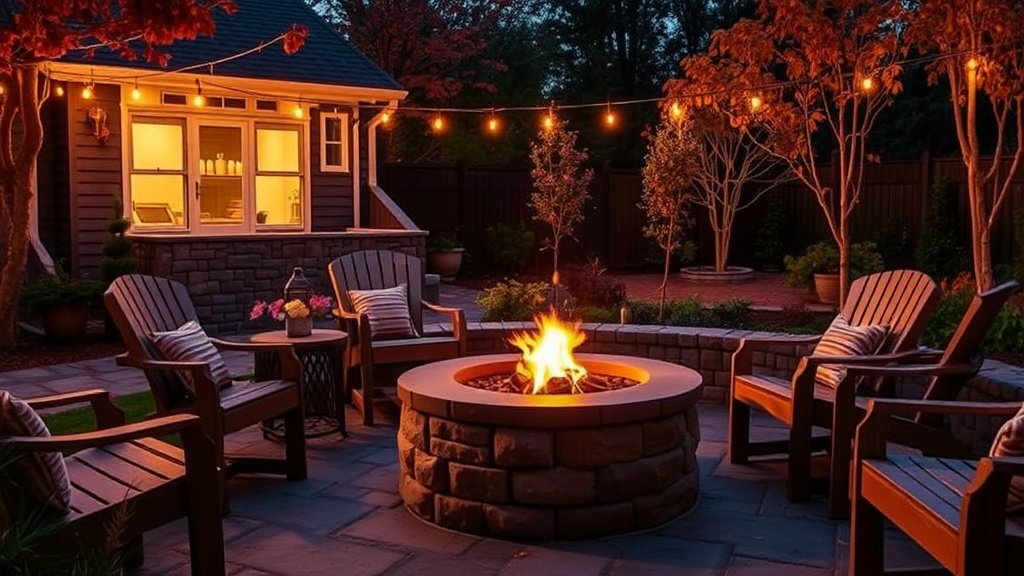
One thing I've learned over the years—and I can't stress this enough—is to watch your lighting. A fire pit area shouldn't be a bright, glaring spotlight in the middle of the dark backyard. Use low-voltage landscape lighting or even simple string lights to create a soft glow. You want the fire to be the star, not a bright LED floodlight that ruins the vibe. If you're building a larger setup, you might even want to integrate some lighting into a nearby custom outdoor kitchen area.
The seating height also matters. If your fire pit is a low-profile bowl, don't use high bar stools. You'll feel disconnected from the fire. Keep the height of the fire and the height of the seats in a similar plane to create an intimate feeling. It makes the conversation flow better. It's a small detail, but it changes the whole experience.
If you're using a gas fire pit, you'll have a much cleaner look, but you'll need to plan for a fuel source. Running a gas line is more work than a wood pit, but it's a one-and-done project. No more hauling heavy logs or dealing with ash. It's a much cleaner way to enjoy a crisp October evening without the mess.
Lastly, think about your drainage. When the autumn rains hit, you don't want a puddle forming right where people are standing. Make sure your gravel or stone area has a slight pitch away from your house and any nearby structures. A little bit of intentional grading goes a long way in preventing a muddy mess in your new favorite hangout spot.