How to Build a Backyard Fire Pit That Actually Gets Used (Not Just Looked At)

A backyard fire pit sounds like one of those projects everyone loves—until it becomes a decorative circle of stones no one touches. The difference between a fire pit that sits idle and one that becomes the center of your outdoor life comes down to smart planning, practical design, and a build that matches how you actually use your space.
This guide walks you through building a fire pit that people gather around, not walk past. It’s not just about stacking bricks—it’s about creating a space that works.
Step 1: Choose the Right Location (This Matters More Than Materials)
Before you buy anything, pick your location carefully. A fire pit that’s too far from the house or awkwardly placed won’t get used often.
- Keep it accessible: Within 15–25 feet of your home is ideal.
- Mind the wind: Avoid areas where wind constantly blows smoke toward seating.
- Check clearances: Stay at least 10 feet from structures, fences, and trees.
- Think about traffic flow: You want people to naturally walk toward it.
If you get this step wrong, everything else becomes a compromise.
Step 2: Decide on Size and Shape Based on Use
The most common mistake is building too big—or too small.
- Ideal inner diameter: 30–36 inches for most households
- Wall height: 12–18 inches (comfortable for seating and heat)
- Outer diameter: Usually 42–60 inches depending on materials
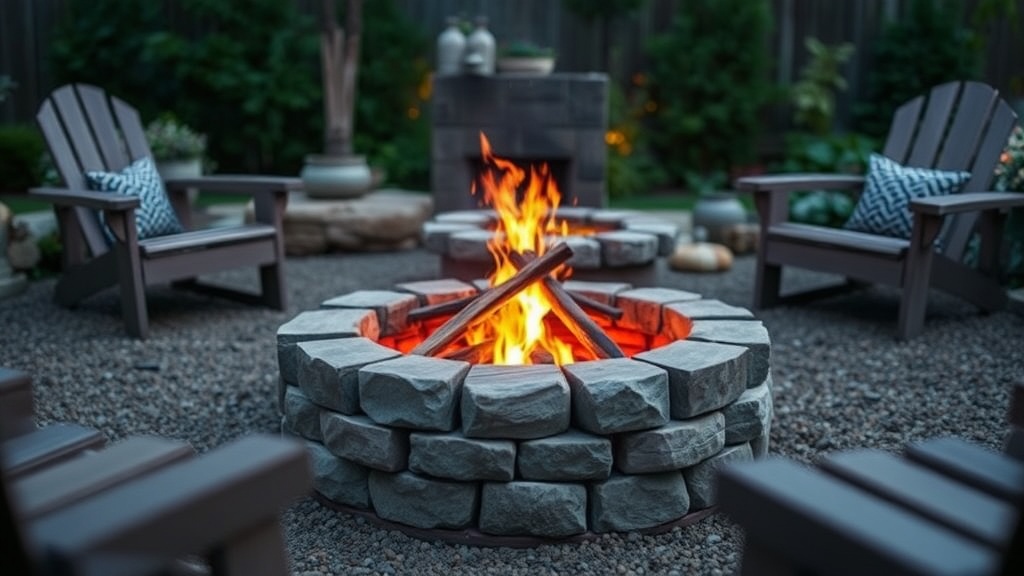
Round fire pits work best for conversation. Square designs look modern but can feel less natural when seating groups.
Step 3: Gather Materials That Last
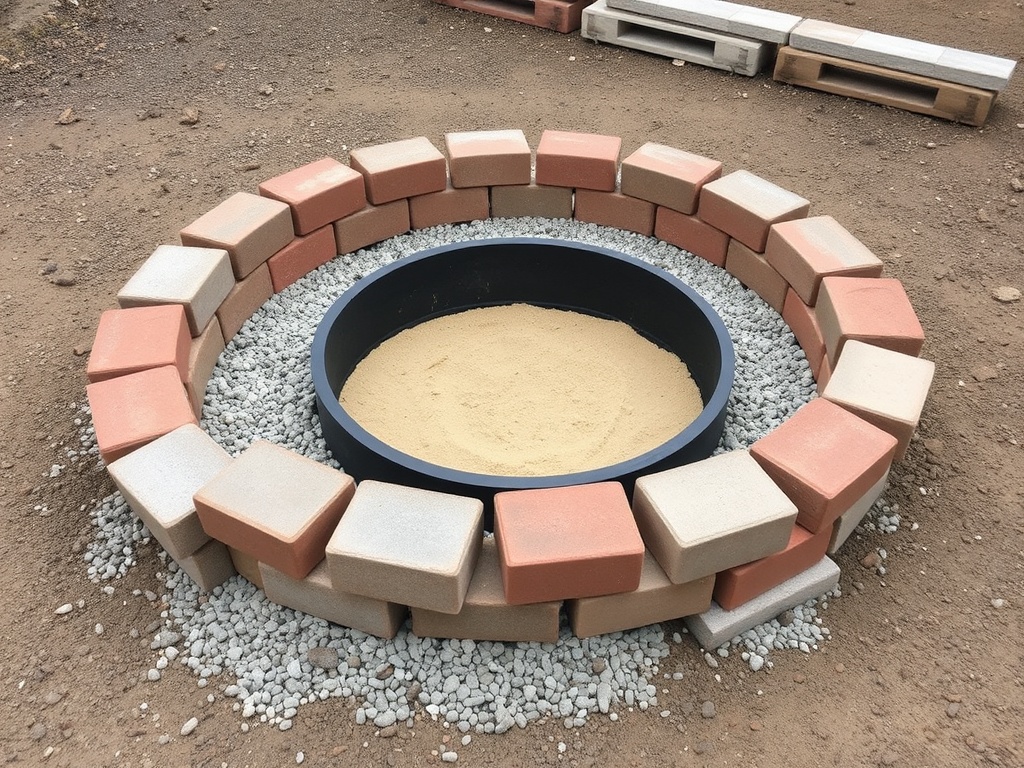
Skip decorative shortcuts. Use materials designed for heat and weather.
- Concrete retaining wall blocks or fire-rated bricks
- Steel fire ring (recommended for longevity)
- Gravel for drainage
- Sand for leveling
- Landscape adhesive (optional but helpful)
- Shovel, level, tamper
A steel insert dramatically extends the life of your fire pit by protecting the inner wall from heat stress.
Step 4: Prepare the Base Properly (Don’t Skip This)

This is where most DIY builds fail. A weak base leads to shifting, cracking, and uneven walls.
- Mark your circle using a stake and string.
- Dig down 6–8 inches.
- Add 4–6 inches of gravel.
- Tamp it down firmly.
- Add a layer of sand and level it.
Take your time here. A perfectly level base makes everything else easier.
Step 5: Build the Walls Layer by Layer
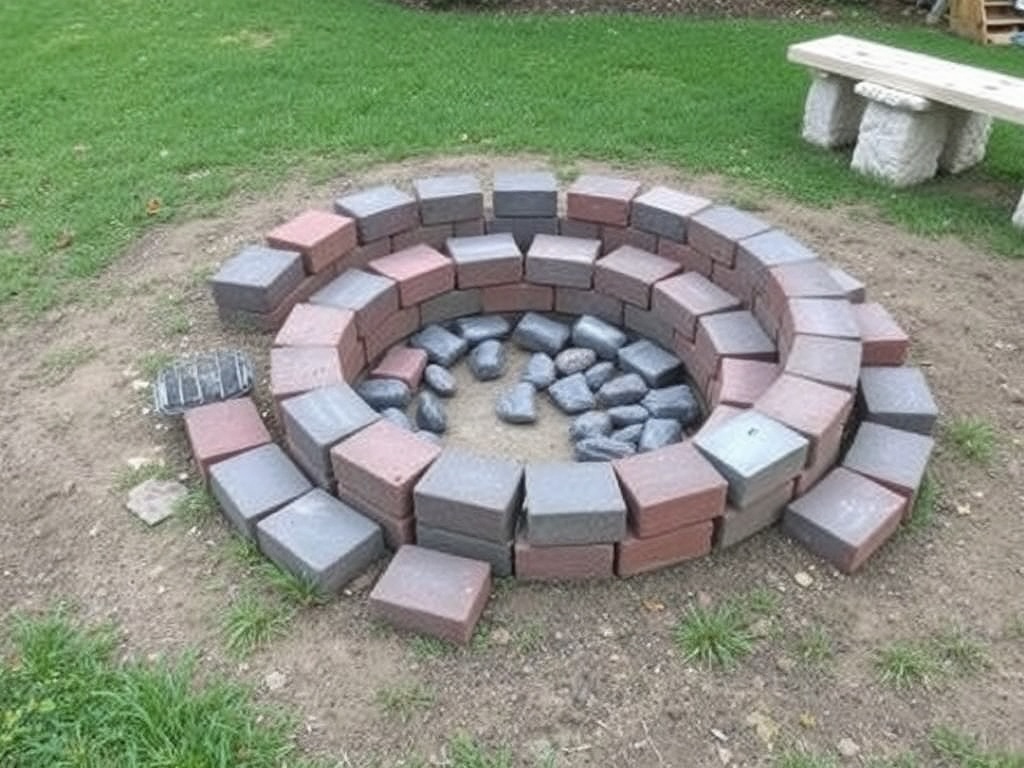
Start placing your blocks in a circle, checking level frequently.
- Dry-fit the first layer before committing
- Stagger joints for strength
- Use adhesive between layers if desired
- Install the steel ring as you build upward
Most fire pits are 2–4 layers high. Keep checking for level and alignment after each layer.
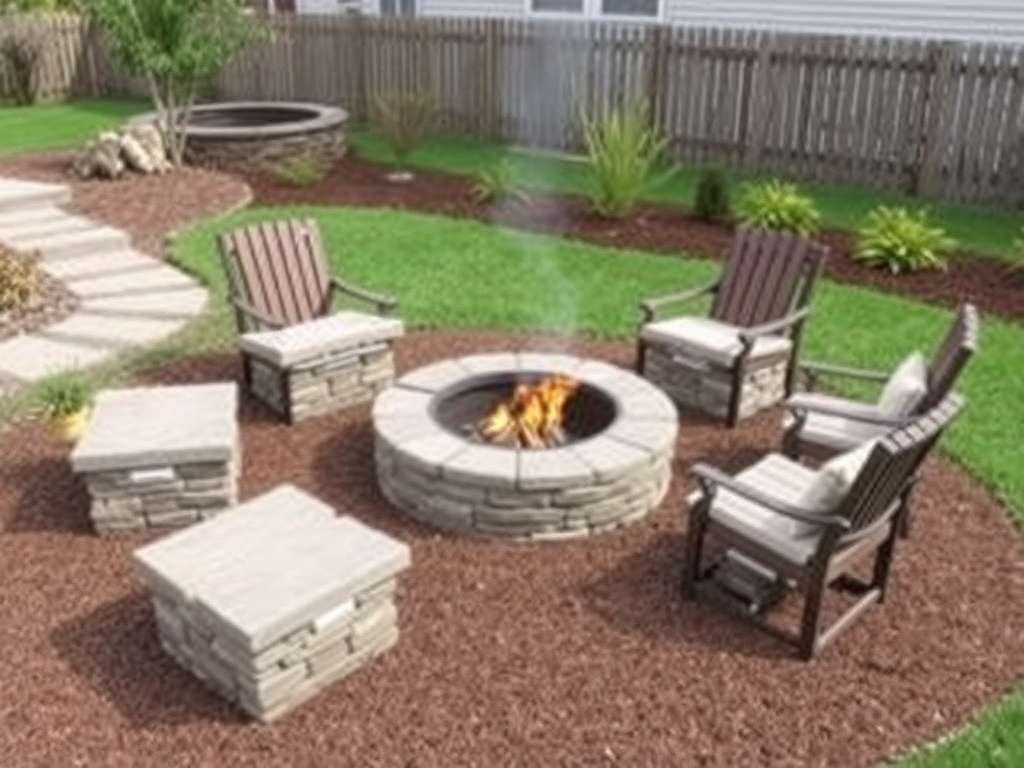
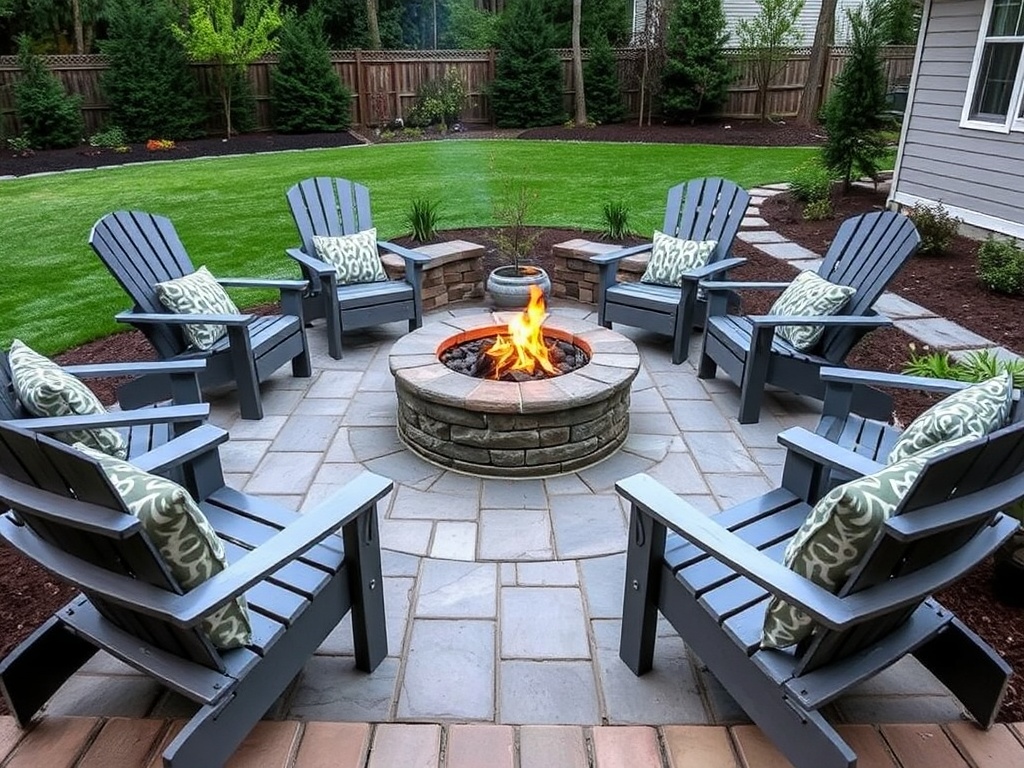
Step 6: Add Drainage and Finishing Touches
Fill the bottom with gravel to improve airflow and drainage. This prevents water pooling and makes fires easier to start.
Optional upgrades that make a big difference:
- Surrounding patio stones or pavers
- Built-in seating or benches
- Gravel or mulch border
- Outdoor lighting nearby
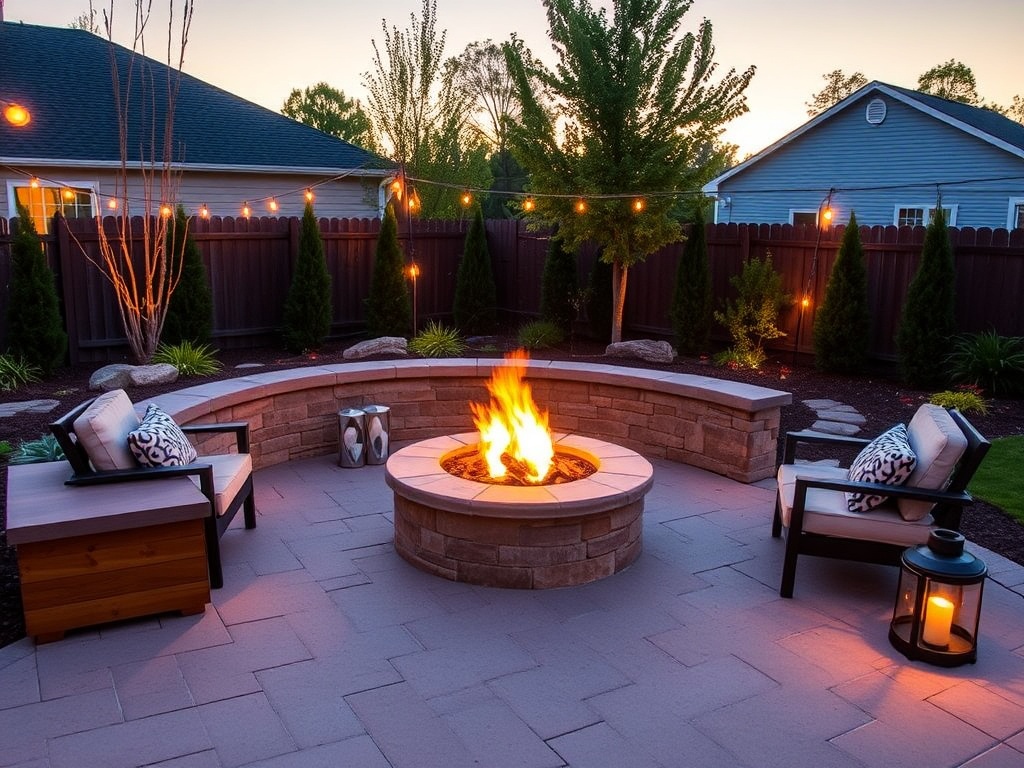
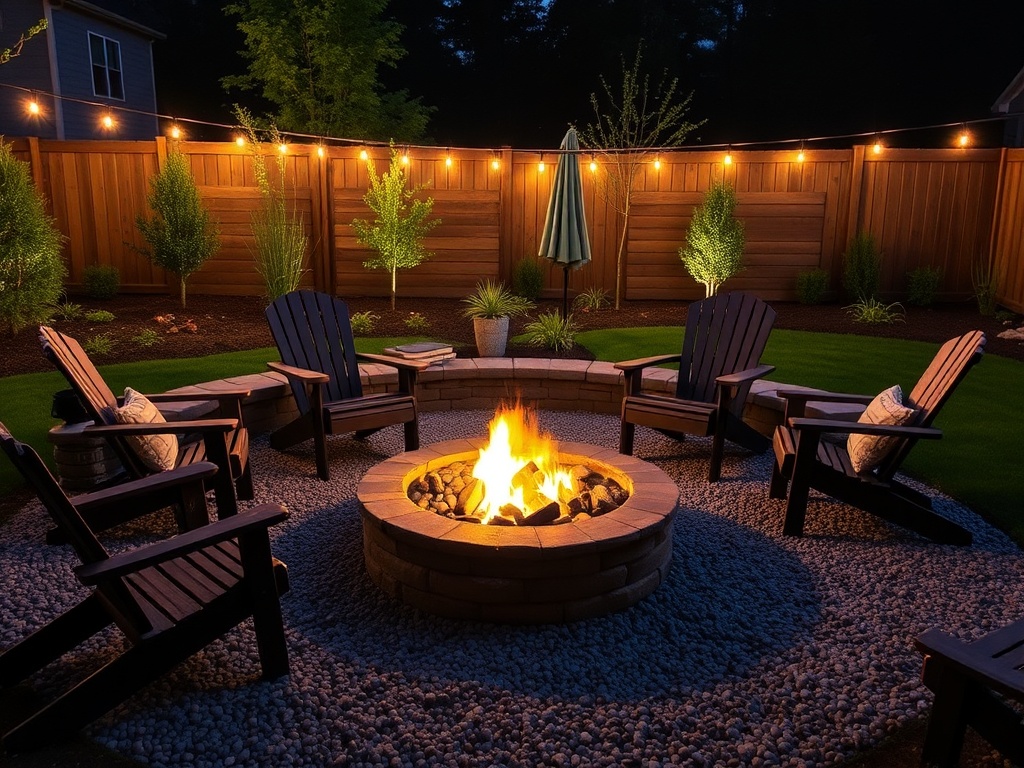
Step 7: Design the Seating Zone (The Secret to Actually Using It)
This is where most fire pits succeed or fail. If seating isn’t comfortable, people won’t stay.
- Place chairs 2–3 feet from the edge
- Aim for 4–6 seats minimum
- Use weather-resistant chairs with back support
- Add side tables or surfaces for drinks
The goal is to make it effortless to sit down and stay awhile.
Step 8: Make It Easy to Use Year-Round
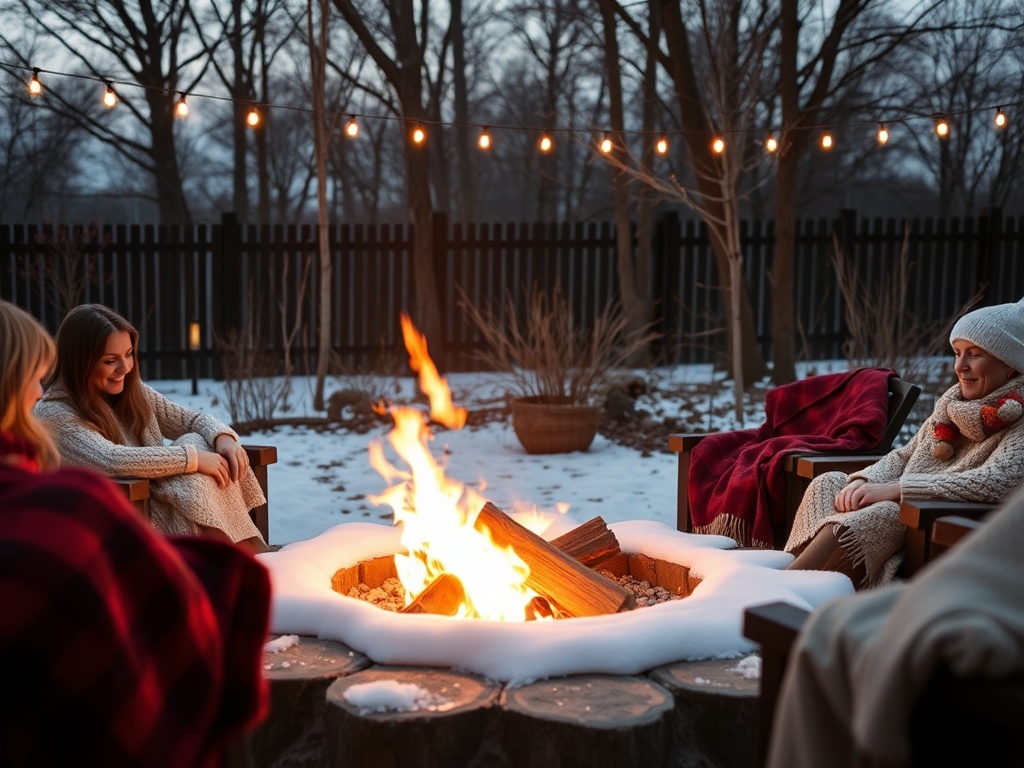
If using your fire pit feels like work, you won’t use it often.
- Store firewood nearby (but safely)
- Keep a cover for rain protection
- Add lighting for evening use
- Consider a spark screen for safety
The easier it is to start a fire, the more often you’ll do it.
Step 9: Safety Basics You Shouldn’t Ignore

Fire pits are simple—but they still need basic precautions.
- Never build directly on grass or wood decking
- Keep water or a fire extinguisher nearby
- Avoid burning treated wood or trash
- Check local bylaws before building
Final Thoughts: Build for Real Life, Not Pinterest
The best backyard fire pits aren’t the most expensive or elaborate—they’re the ones that fit how people actually live. Keep it accessible, comfortable, and easy to use, and it will naturally become a gathering point.
If you finish your build and find yourself lighting it on random weeknights, you did it right.
Steps
- 1
Choose the Right Location
- 2
Decide on Size and Shape
- 3
Gather Materials
- 4
Prepare the Base
- 5
Build the Walls
- 6
Add Drainage and Finishing Touches
- 7
Design the Seating Zone
- 8
Make It Easy to Use Year-Round
- 9
Follow Safety Basics