How to Build a DIY Outdoor Bar (Weekend Project)

Alright, if you spend enough time grilling in your backyard, eventually someone says it.
"You know what this place needs?"
A bar.
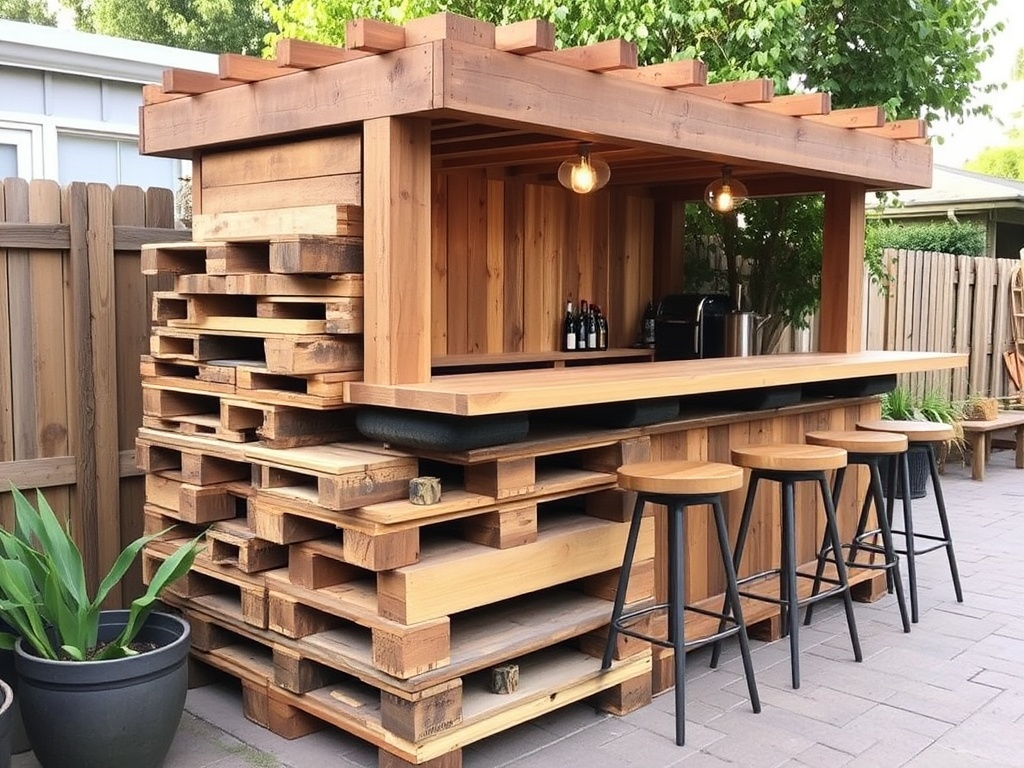
That’s exactly how mine started. I built a simple pallet bar next to the grill, mostly as a place to set drinks and prep food. Now it’s the unofficial gathering spot every time people come over.
The best part? You can build a great outdoor bar in a weekend without spending a fortune.
Let me show you how.
Step 1: Choose the Right Location
Location matters more than anything.
You want the bar somewhere people naturally gather.
Good spots include:
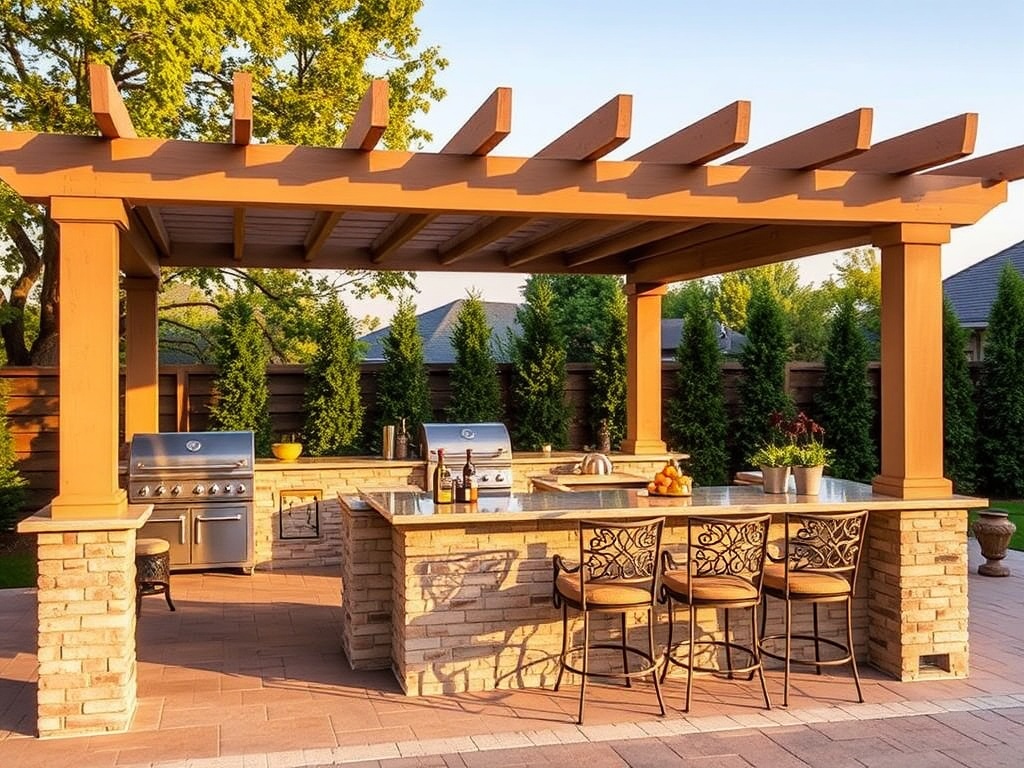
• next to the grill
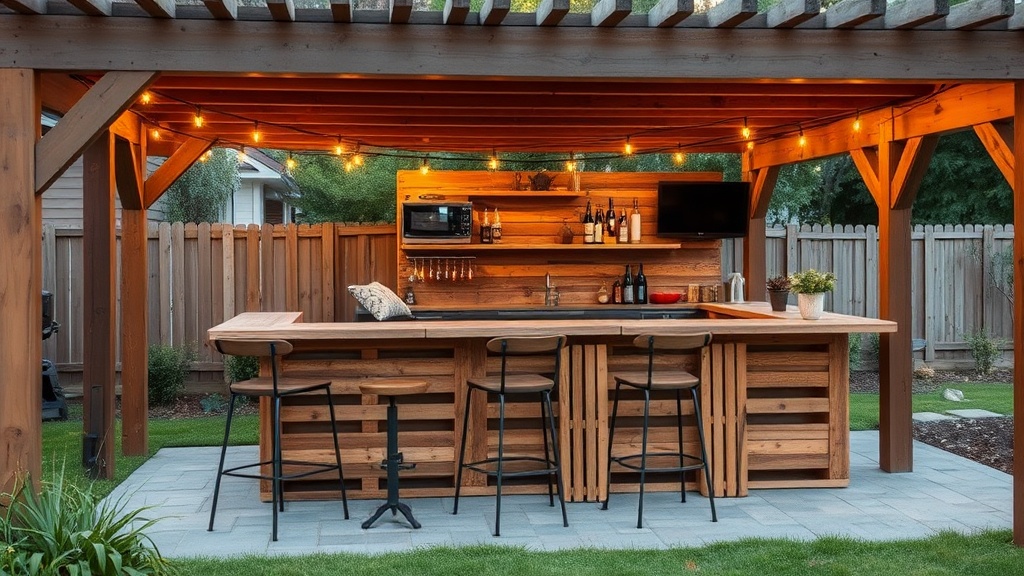
• under a pergola
• against a fence or wall
• near the patio seating area
Think about how people move through your yard. The bar should feel connected to the action, not stuck in a random corner.
Step 2: Gather Your Materials
There are two common ways to build a simple outdoor bar.
Option 1: Pallet Bar (Cheapest)
Reclaimed pallets create a rustic look and cost almost nothing if you can find them locally.
Option 2: Lumber Frame Bar
Use standard construction lumber:
• pressure-treated 2x4s for framing
• pressure-treated 2x6s for support
You can pick these up at Home Depot or Lowe's.
Either option works great depending on the look you want.
Step 3: Tools You'll Need
You don’t need a full woodworking shop for this project.
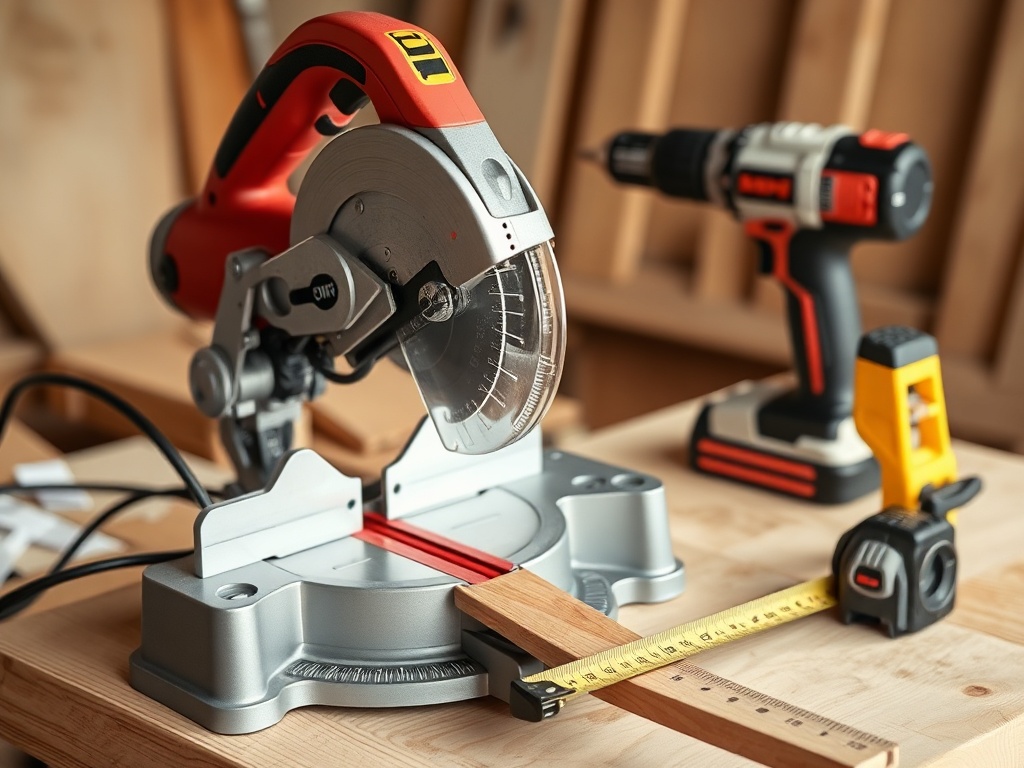
Basic tools include:
• miter saw
• drill or impact driver
• measuring tape
• level
One tool that helps a lot is a Kreg pocket hole jig (~$50 on Amazon). It makes very strong hidden joints in wood framing.
Step 4: Build the Frame
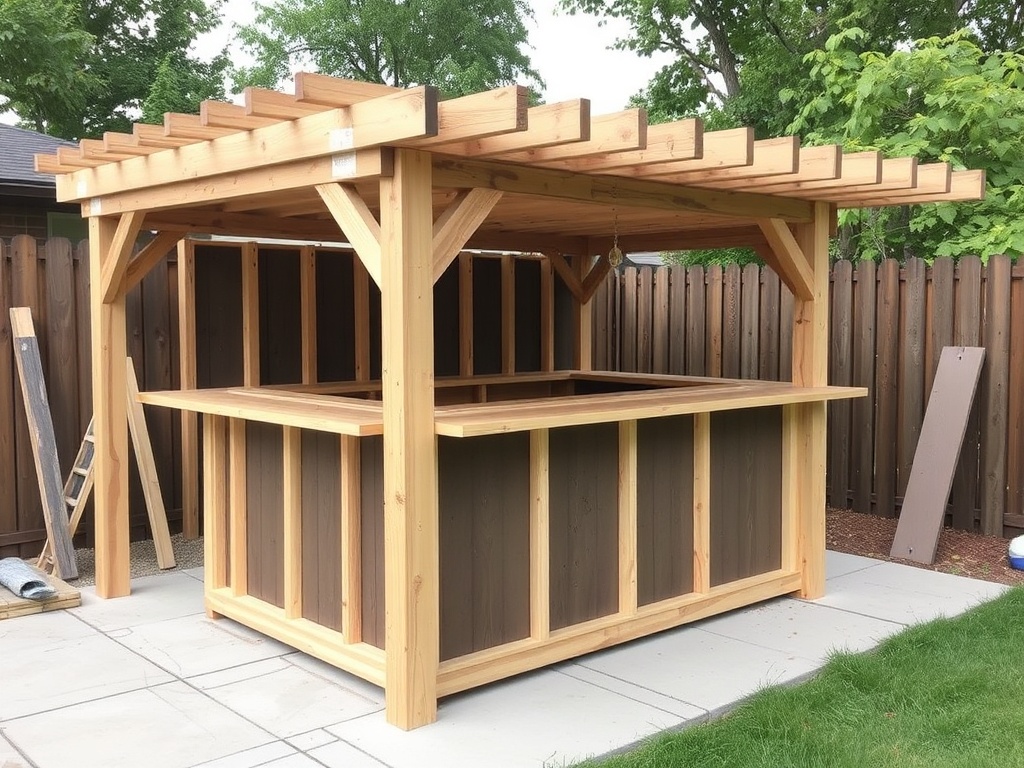
Start by building a simple rectangular frame for the bar base.
A common size is about:
• 6–8 feet long
• 24 inches deep
• 40–42 inches tall
Secure the frame using deck screws or pocket hole joints.
For an L-shaped bar, build two frames and connect them at a 90-degree angle.
Make sure everything is square and level before attaching panels.
Step 5: Add the Bar Top
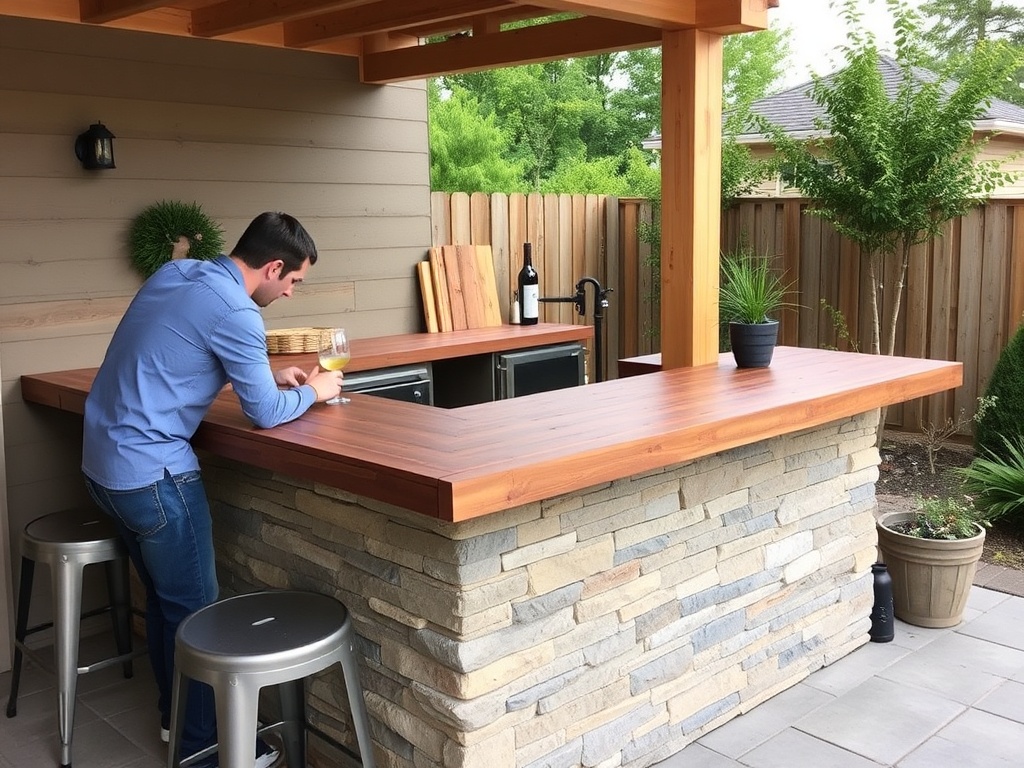
The bar top is the part people actually see, so choose something that looks good.
Two great options:
Butcher block countertop
Available from places like IKEA.
Live-edge wood slab
You can often find these at local lumber yards.
Seal the top with Waterlox marine finish (~$40 on Amazon) to protect it from weather.
Step 6: Install a Foot Rail
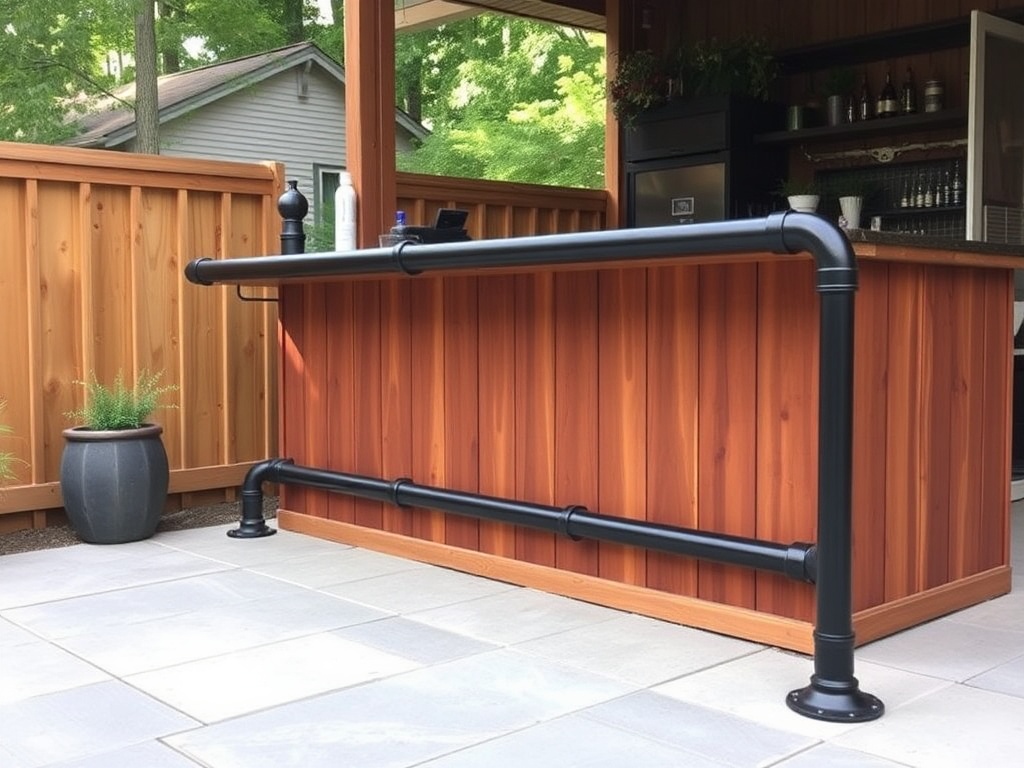
This is one of those little upgrades that makes a DIY bar feel professional.
You can build a great foot rail using black iron pipe fittings from Home Depot.
It gives the bar a cool industrial look and makes it more comfortable to stand at.
Step 7: Add Bar Stools
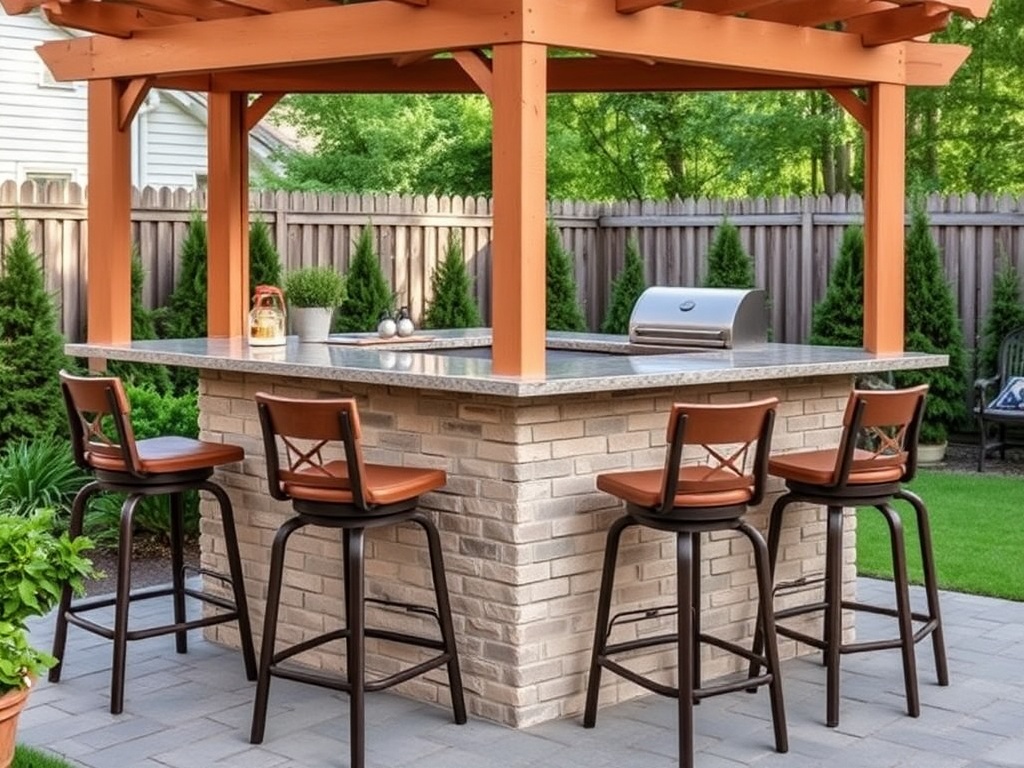
A good stool makes the bar feel like a real hangout spot.
One excellent option is the Polywood Nautical Bar Stool (~$250).
They’re made from recycled plastic lumber and are completely weatherproof.
You can find them here:
Step 8: Optional Upgrades
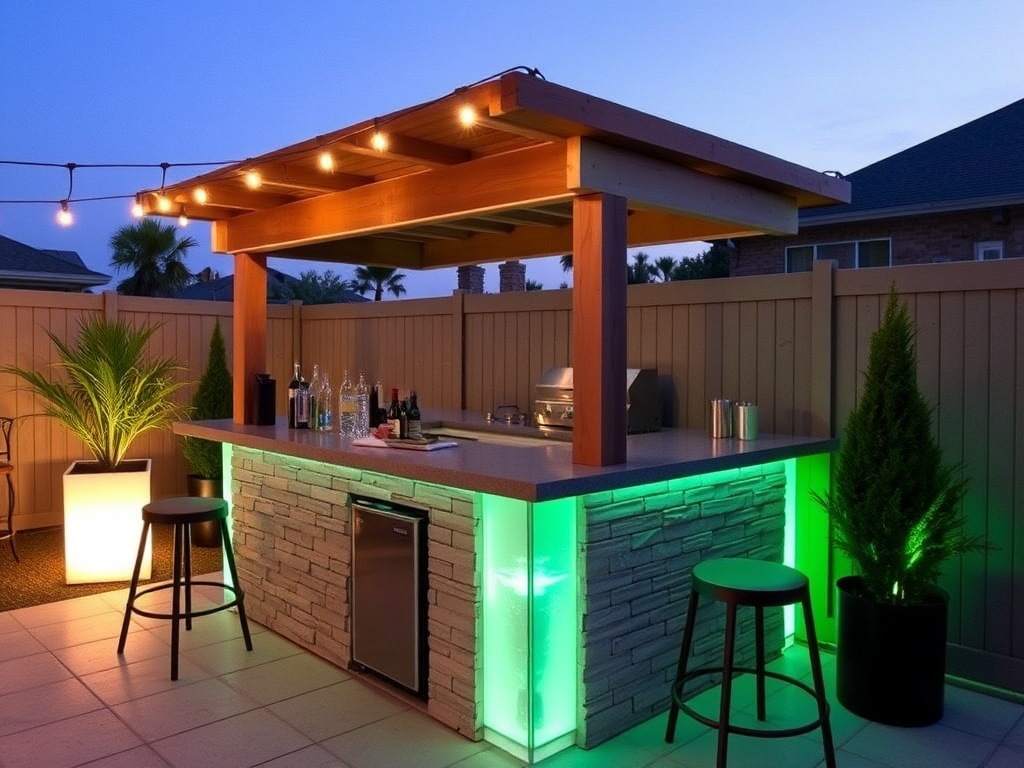
Once the basic bar is built, you can add a few upgrades.
Popular extras include:
• mini fridge (NewAir outdoor fridge ~ $300 on Amazon)
• wall-mounted bottle opener
• LED strip lighting under the bar top
These small touches make the bar feel much more finished.
Budget Breakdown
Here’s what a typical outdoor bar project costs.
Basic Build
• reclaimed pallets or lumber: $50–$150
• screws and hardware: $40
• bar top finish: $40
Total: about $200–$500.
Fully Upgraded Setup
• better lumber and bar top
• stools
• mini fridge
• lighting
Total: about $800–$1,500.
My pallet bar cost under $150, and it’s still the centerpiece of the patio.
Final Thoughts
Backyard projects that actually get used are always the best ones.
The bar ended up being one of the most popular spots in the yard — people gather there before dinner, during grilling, and long after the sun goes down.
And the funny thing is it started as a simple weekend build with a couple pallets and a drill.