How to Winterize Your Grill (So It’s Ready for Spring)

Alright, if you grill year‑round you can ignore this.
But if you live somewhere that gets a real winter, putting the grill away properly makes a huge difference in how it performs next season.
I’ve seen grills that last ten years and others that rust out in three. Most of the difference comes down to maintenance and storage.
The good news is winterizing a grill only takes about an hour.
Let’s walk through it.
Step 1: Do a Deep Clean
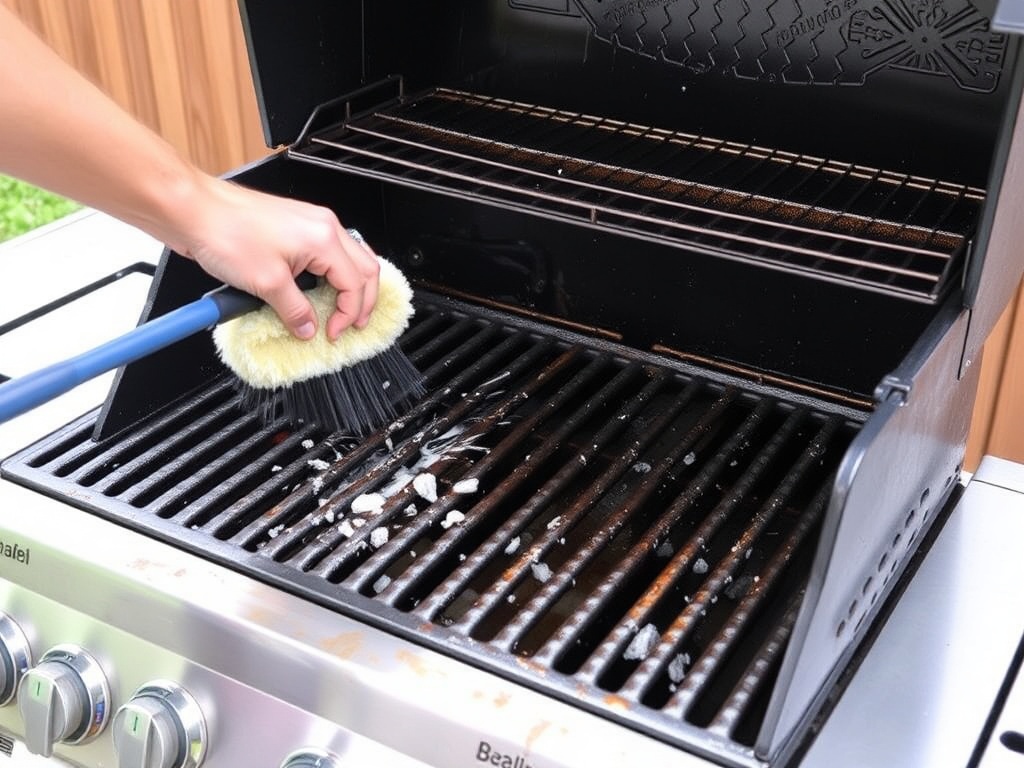
Before storing the grill, give it a proper deep clean.
Start by heating the grill for about 10–15 minutes to loosen grease and food residue.
Then:
• Scrub the grates with a grill brush
• Remove grease trays and clean them
• Scrape out grease buildup in the bottom of the grill
Grease left sitting all winter can cause rust and bad smells in spring.
Step 2: Clean the Burners and Interior
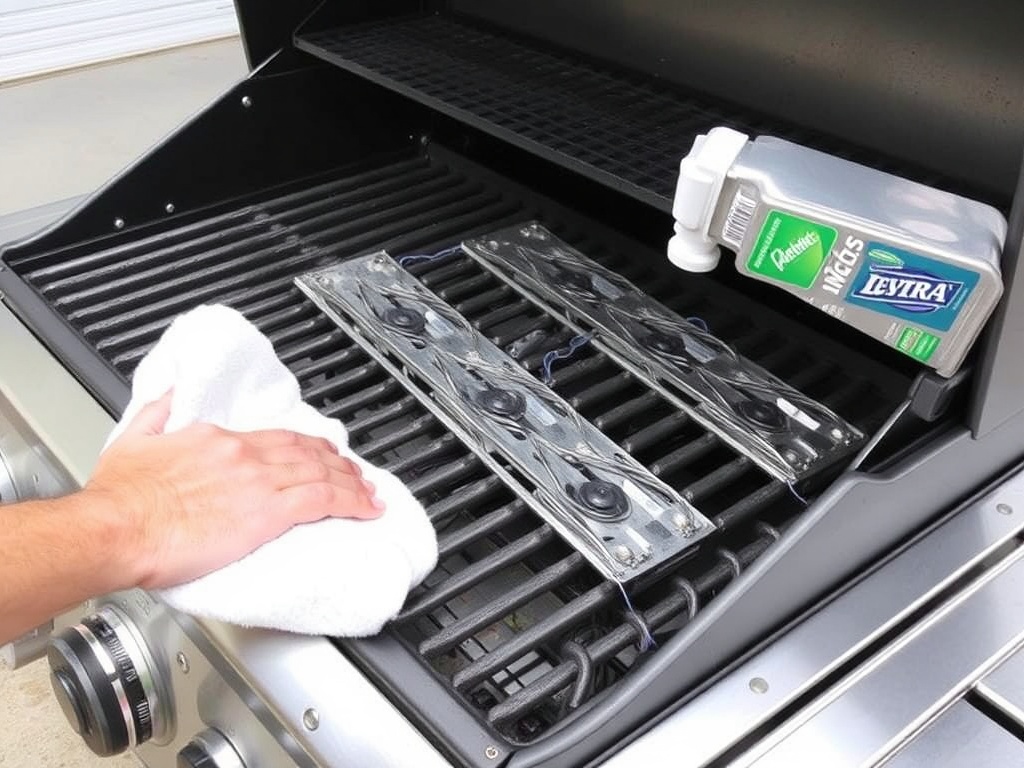
Once the grates are clean, check the inside of the grill.
Brush away loose debris and wipe down surfaces if needed.
If you have a gas grill, inspect the burners for clogged holes.
A small brush or toothpick works well to clear them.
This helps ensure even heat when you fire it up again next season.
Step 3: Oil the Grates
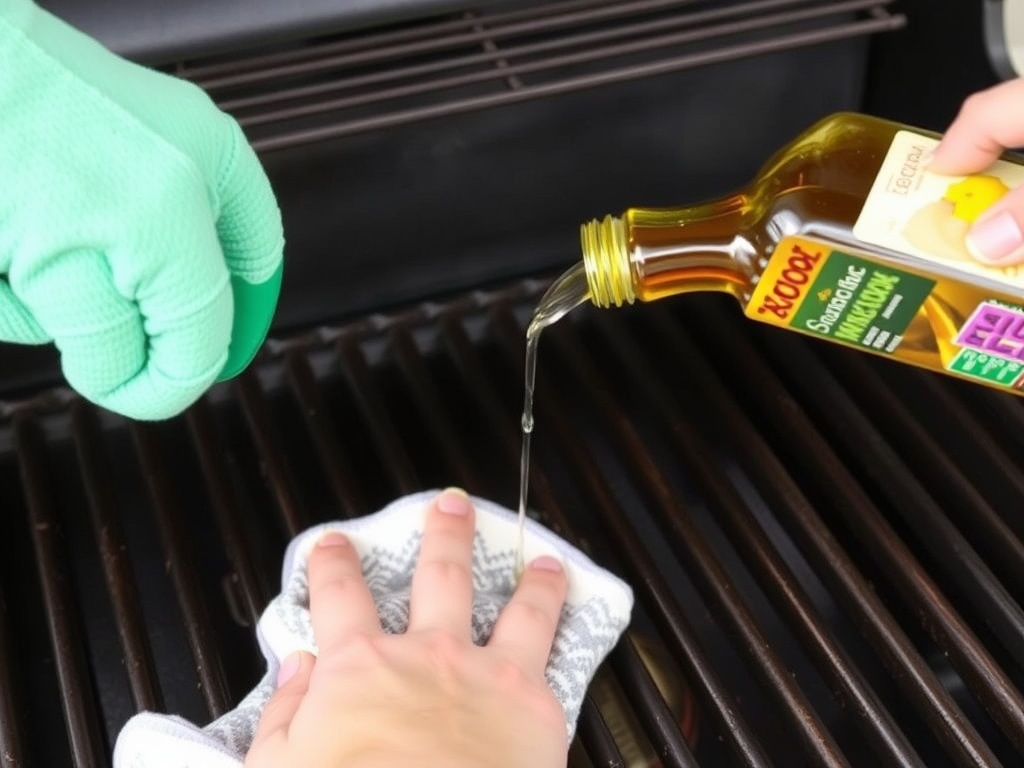
After cleaning the grates, apply a thin layer of cooking oil.
Use a paper towel with vegetable oil and wipe the grates lightly.
This helps prevent rust during storage.
Think of it like seasoning a cast iron pan.
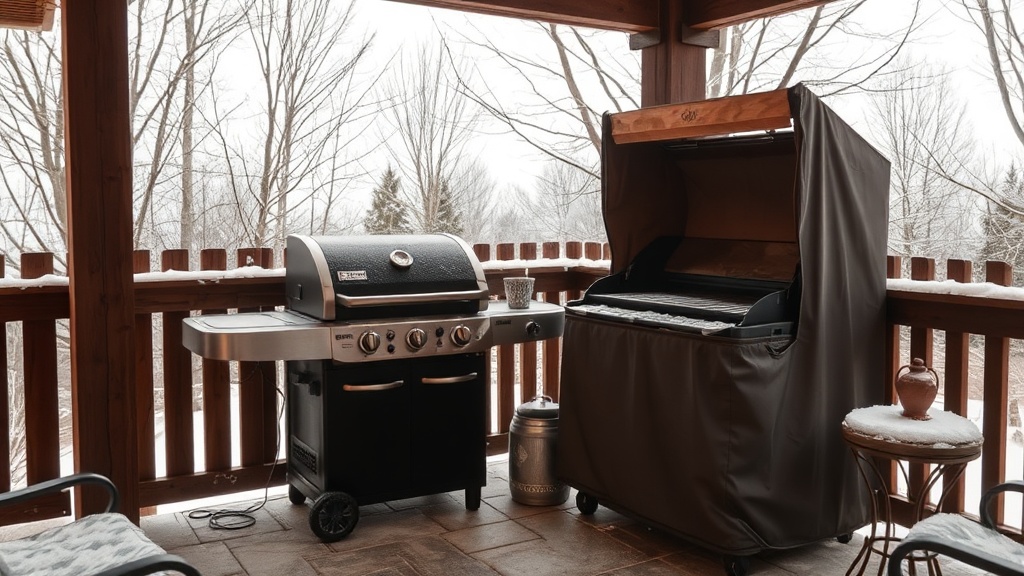
Step 4: Cover the Grill
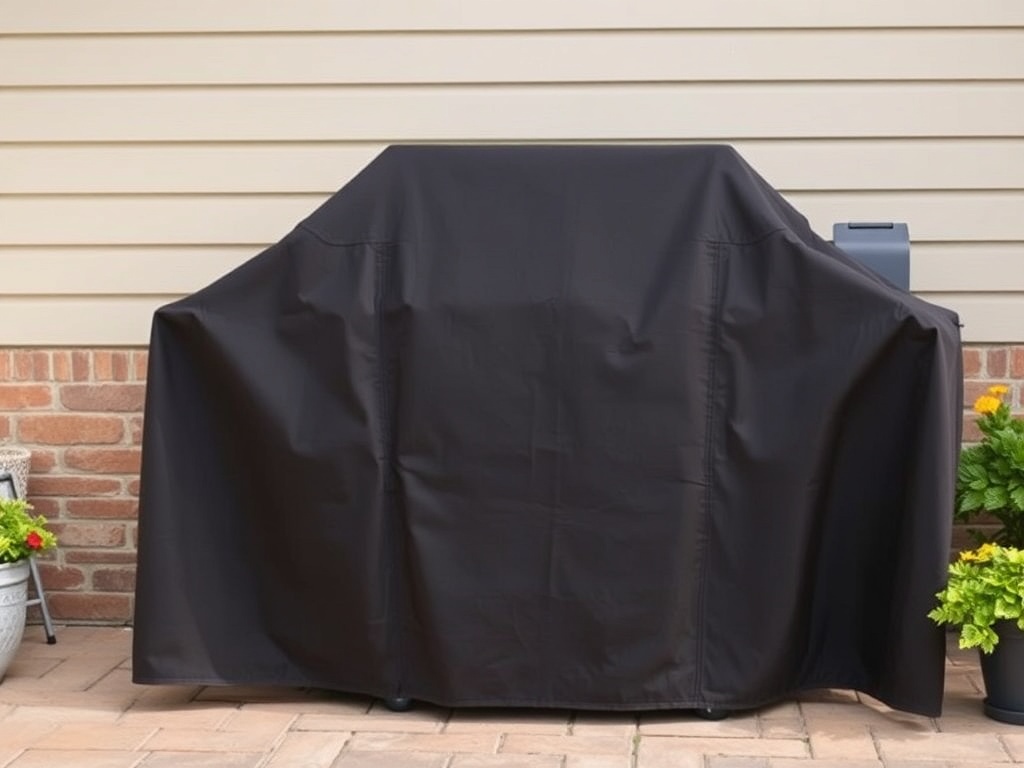
A good grill cover is worth the money.
Look for one that is:
• Weather resistant
• Properly sized for your grill
• Ventilated to prevent moisture buildup
Covers keep snow, rain, and debris out of the grill.
Even if the grill stays outside all winter, a cover dramatically reduces rust.
Step 5: Propane Tank Storage

If you use a propane grill, disconnect the tank before storing the grill.
Propane tanks should always be stored outside in a ventilated area, never in a garage or basement.
Cold temperatures are fine for propane tanks — just keep them upright and protected.
Step 6: Getting the Grill Ready for Spring
When spring comes around, a quick inspection gets things going again.
Check:
• Burner ignition
• Gas hose connections
• Grill grates
Then preheat the grill for 10–15 minutes and brush the grates again before cooking.
That’s usually all it takes to bring it back to life.
Final Thoughts
Grills are one of those backyard tools that last a lot longer with a little care.
A quick deep clean and proper winter storage keeps rust away and makes spring grilling much easier.
Plus, the first cook of the season always feels better when the grill fires up without any problems.