5 Mistakes I Made Building My First Pergola (And How to Avoid Them)

Alright, let me tell you about the first pergola I ever built.
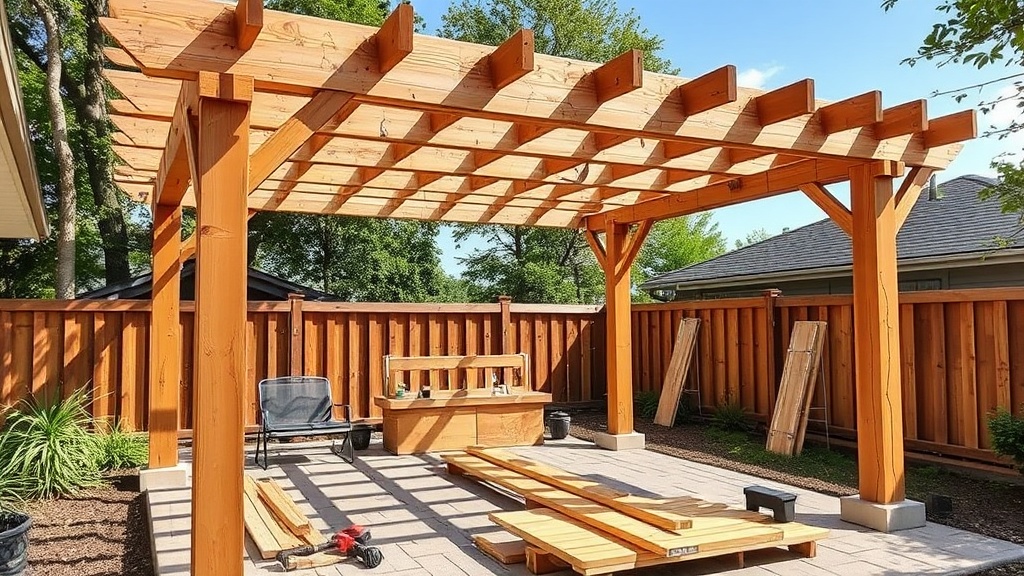
From the street it looked fantastic. Big cedar beams, string lights hanging across the top, grill underneath. The kind of backyard project that makes neighbors wander over and ask how you did it.
What nobody saw was the chaos that happened while building it.
I made some mistakes. Nothing catastrophic, but enough that if I could go back in time with a cold beer and talk to my younger self, I’d definitely change a few things.
So if you’re planning to build a pergola in your backyard, learn from my rookie mistakes.
Mistake #1: Not Checking for Underground Utilities
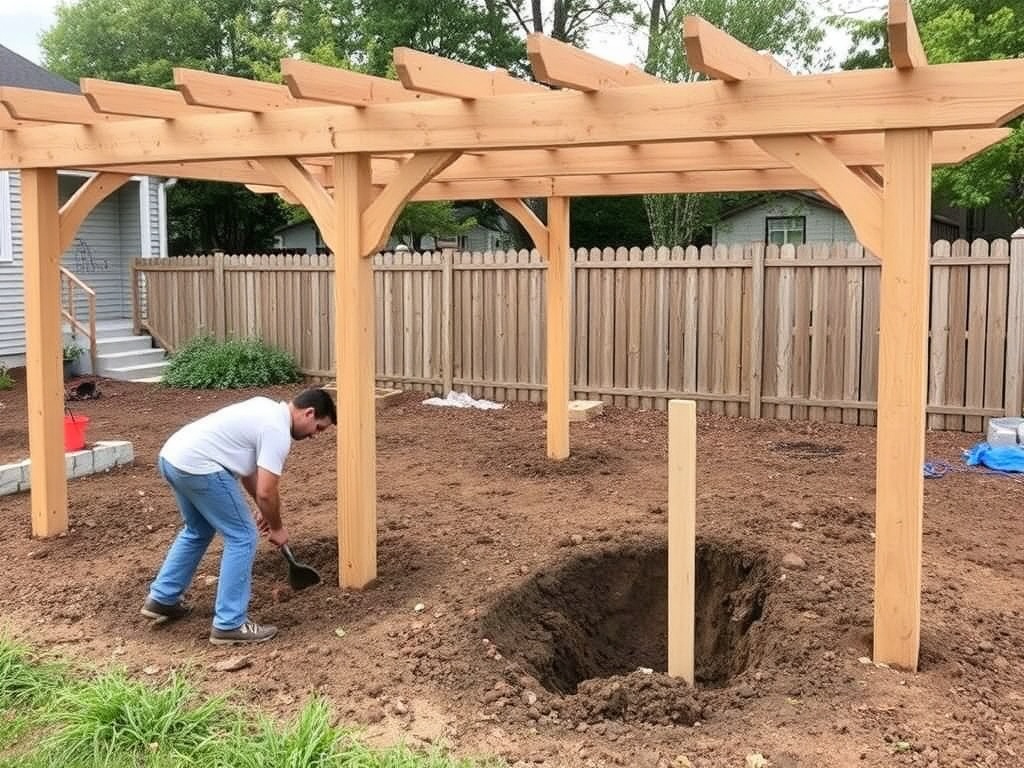
First post hole I dug, I hit something.
Thankfully it wasn’t a gas line — just an old irrigation pipe — but it scared me enough to stop digging immediately.
What I should have done first was call 811.
In the U.S. you can request a utility check through Call Before You Dig:
They mark underground utilities before you start digging.
It’s free, takes a couple days, and prevents some very expensive mistakes.
Lesson learned: always check utilities before digging post holes.
Mistake #2: Choosing the Wrong Lumber
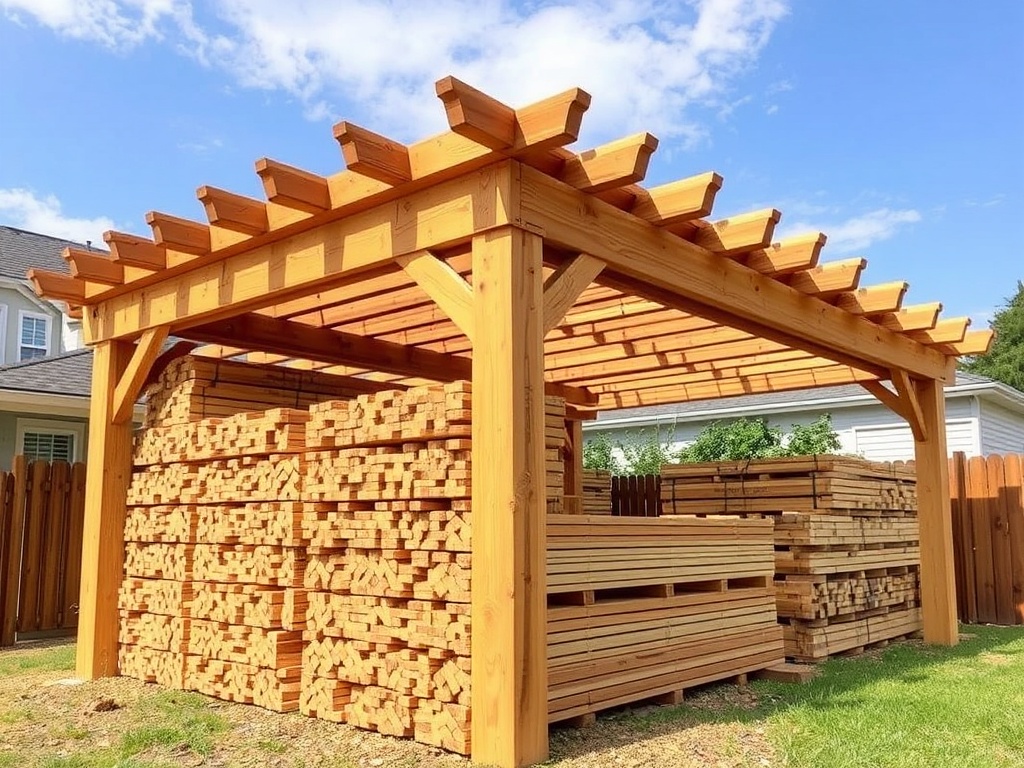
When I built my first pergola, I grabbed whatever lumber looked good at the store.
Turns out pergolas usually use three main types of wood:
Pressure‑treated lumber
• Cheapest option
• Durable
• Needs staining or sealing
Cedar
• Naturally weather resistant
• Looks great
• More expensive
Redwood
• Premium option
• Beautiful color
• Very expensive in many regions
You can check typical pricing at the Lowe’s lumber department.
My mistake was mixing lumber types, which meant some boards aged differently and changed color.
If I did it again, I’d choose one material and stick with it.
Mistake #3: Skipping Proper Concrete Footings
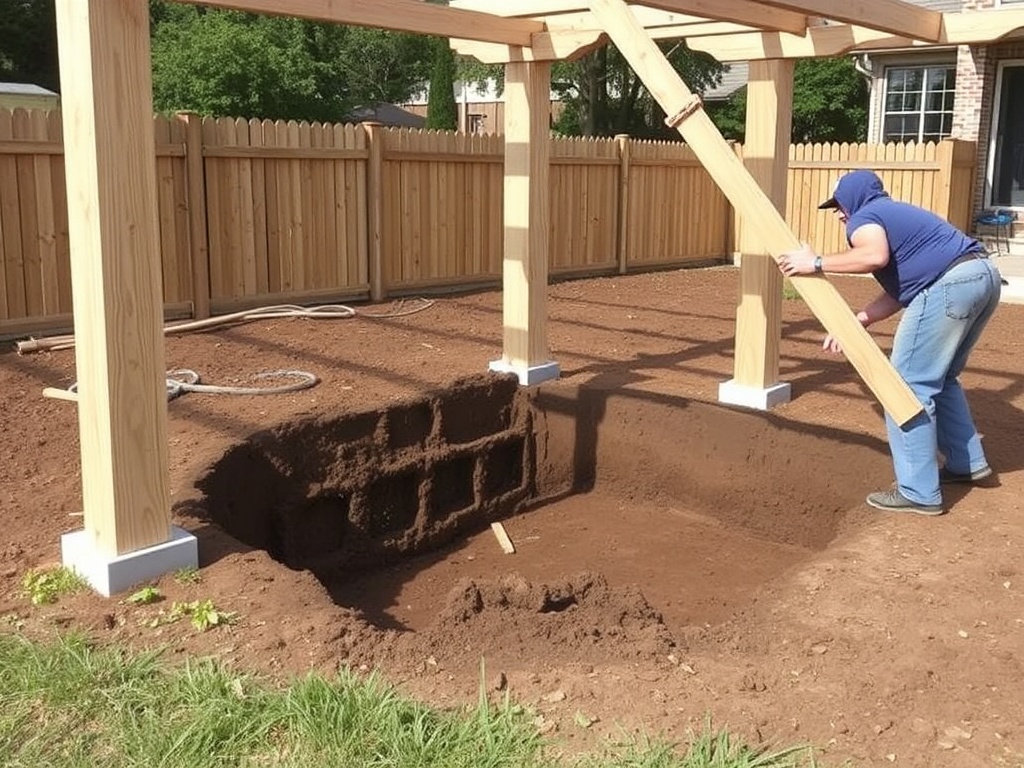
The first version of my pergola posts were just set into the ground with gravel.
That worked… for about six months.
Then one corner started leaning slightly.
The correct way to do it is installing concrete footings.
Products like Quikrete (easy to find at Home Depot) make it simple:
• dig post hole
• pour dry concrete
• add water
That locks the post in place and prevents shifting over time.
Trust me, re‑leveling a pergola later is not fun.
Mistake #4: Eyeballing Measurements
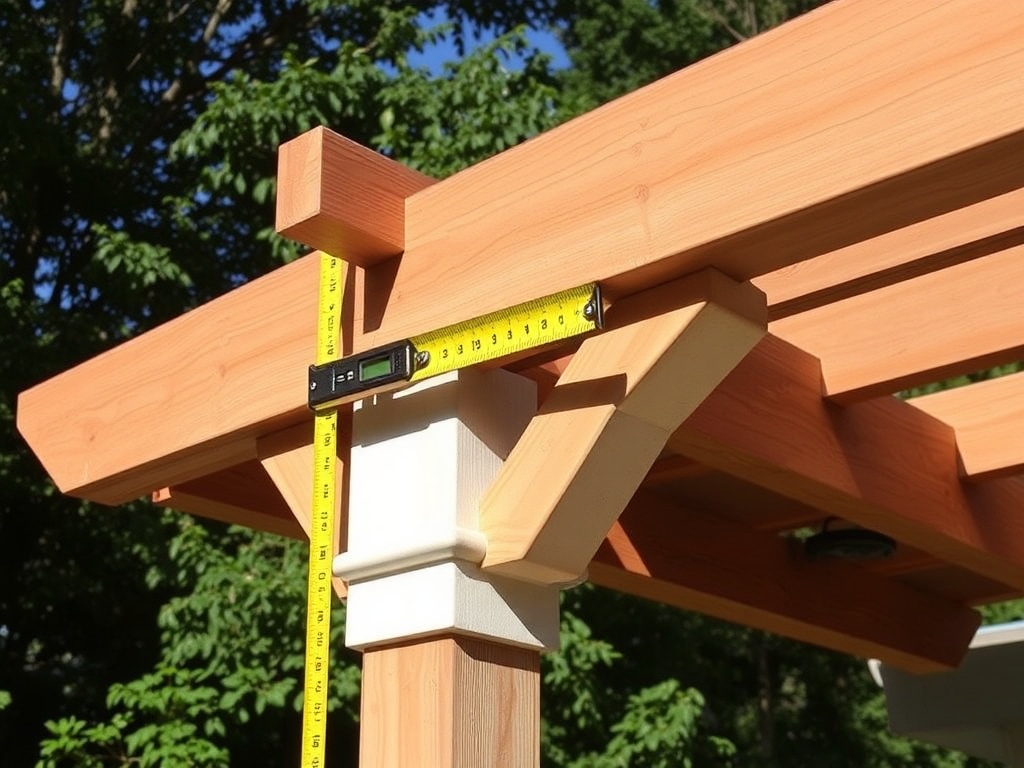
At one point I stepped back, squinted, and thought:
"Yeah… that beam looks level."
It was not level.
Even a half‑inch difference becomes obvious when you hang lights or attach rafters.
Now I use a proper level or even a DeWalt laser level for bigger projects.
The lesson here is simple.
Measure everything. Then measure it again.
Mistake #5: Forgetting About Permits
About halfway through building the pergola, a neighbor casually asked:
"Did you need a permit for that?"
Cue the panic.
Luckily my structure was small enough that it didn’t require one, but many areas require permits for outdoor structures.
Typical permit rules may cover:
• structure height
• distance from property lines
• footing requirements
A quick call to the local building office can clear that up before you start building.
What It Actually Cost Me
Here’s roughly what my first pergola cost.
• Lumber: $450
• Hardware and brackets: $80
• Concrete and post anchors: $60
• Screws and miscellaneous supplies: $40
Total: about $630.
Today similar builds usually land somewhere between $600 and $1,200 depending on lumber choice.
What I’d Do Differently Today
If I were starting from scratch again, I would:
• call 811 before digging
• choose one consistent lumber type
• install proper concrete footings
• measure everything carefully
• check local building rules first
Those five steps would have saved me a lot of time and frustration.
Final Thoughts
Building that first pergola taught me a lot.
And even with the mistakes, it still became one of the best parts of the backyard.
That’s the funny thing about DIY projects — they rarely go perfectly, but you learn something every time you build one.