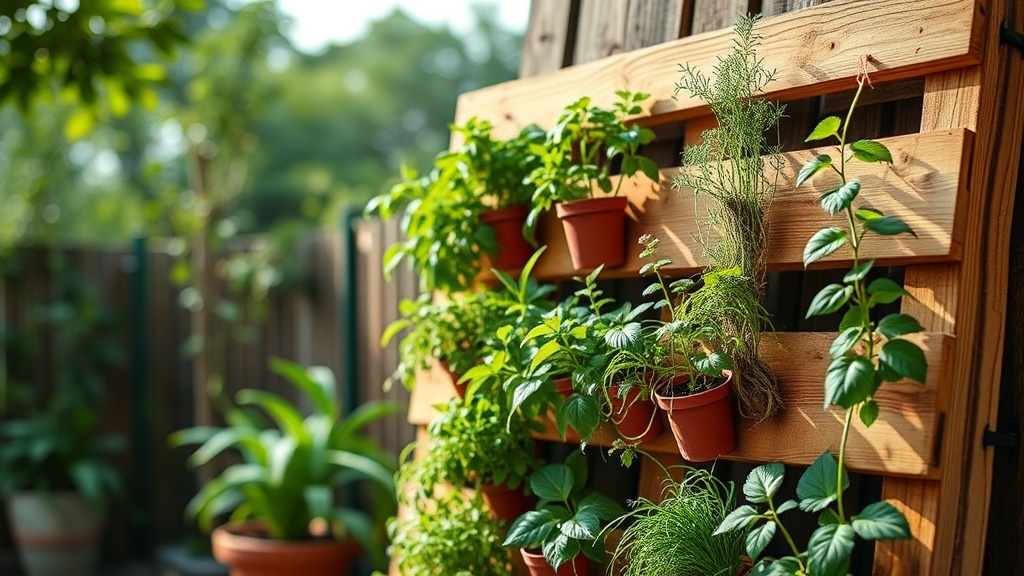
Creating a Vertical Herb Garden with Pallets

A stack of weathered pine pallets sits in the corner of a driveway, waiting to be hauled away or repurposed. These wooden structures are more than just shipping debris; they are the perfect skeletal frame for a vertical herb garden that maximizes small garden footprints. If you have a tiny patio, a narrow balcony, or just a patch of sunny ground that isn't quite big enough for a traditional garden bed, a pallet garden allows you to grow fresh basil, mint, rosemary, and thyme upward rather than outward. This guide will walk you through selecting the right pallet, prepping the wood, and assembling a functional, self-contained planting system that looks professional and stays productive.
Selecting the Right Pallet
Not all pallets are created equal, and choosing the wrong one can lead to problems with your soil or even your health. When you are scavenging for materials, you must look for the HT (Heat Treated) stamp. This stamp indicates that the wood was treated with heat to kill pests, which is the only safe method for gardening. Avoid any pallets marked with MB (Methyl Bromide), as this is a toxic pesticide that can leach into your soil and your herbs. If you see a pallet with bright, unnaturally colored wood or one that looks heavily treated with chemical preservatives, leave it behind.
For a vertical herb garden, look for a "standard" pallet with intact slats. You want a sturdy structure where the horizontal boards are thick enough to hold the weight of wet soil. A pallet with many thin, broken slats will sag once you add water and dirt. I generally recommend a standard 48-inch by 40-inch pallet. This size provides enough surface area for multiple rows of herbs while remaining manageable to lean against a wall or mount to a fence.
Inspecting for Structural Integrity
Before you take the pallet home, perform a quick stress test. Grab a corner and give it a firm shake. If you hear wood splintering or see the internal blocks shifting, that pallet is junk. You need the structural integrity to hold several cubic feet of soil. Additionally, check the condition of the slats. If the wood is rotting or has deep cracks, it won't hold moisture well, and the weight of the soil will eventually cause the wood to fail. A slightly weathered, graying pallet is fine, but avoid anything that feels soft or "punky" to the touch.
Tools and Materials Needed
Gathering your supplies before you start prevents mid-project trips to the hardware store. You won't need heavy machinery, just basic hand tools and a few construction essentials.
- One HT-stamped wooden pallet
- Landscape fabric (heavy-duty woven or non-woven)
- Staple gun and 1/2-inch galvanized staples
- Box cutter or heavy-duty shears
- Drill and 2-inch exterior-grade wood screws
- Sandpaper (60 or 80 grit)
- Potting mix (high-quality, well-draining)
- Small garden trowel
- Optional: Outdoor wood sealant or stain
If you are planning to place this garden on a deck or a paved patio, you might want to consider how it will drain. If you're working with a smaller space, you might also find inspiration in using outdoor rugs to define your space, but for a vertical garden, your primary concern is water runoff and preventing stains on your flooring.
Step 1: Preparing the Wood
Even if you want a "rustic" look, you don't want splinters every time you reach in to grab a sprig of parsley. Start by sanding the front-facing slats. Focus on the edges and the areas where you will be reaching in to harvest. You don't need to sand the entire pallet perfectly smooth, but removing the rough burrs and loose splinters is essential for safety.
If you want the pallet to last more than one season, apply a non-toxic, water-based exterior stain or a clear sealant. Since you are growing edibles, ensure the product is labeled as safe for use around plants. This step prevents the wood from absorbing too much water and rotting prematurely. Apply the sealant to the back and sides of the pallet as well, as these areas will be in constant contact with damp soil.
Step 2: Creating the Planting Pockets
The most critical part of this build is the "pocket" construction. We aren't just filling the gaps between the slats; we are creating a container that holds the soil in place. You will use landscape fabric to create these compartments. This fabric allows water to drain through while preventing the soil from washing out of the bottom and onto your patio or lawn.
Lay the pallet flat on the ground with the long side facing up. You are going to wrap the back and the bottom of the pallet with the landscape fabric. Use your staple gun to secure the fabric to the back of the pallet, starting from the bottom and working your way up. As you move up the pallet, you will create "pockets" by folding the fabric over the front slats.
- The Bottom Layer: Lay a large sheet of landscape fabric over the back and bottom of the pallet. Staple it securely to the back edges.
- The Side Pockets: Fold the fabric over the side edges of the pallet and staple it to the back. This creates the "walls" of your garden.
- The Front Pockets: This is where the magic happens. Take a long strip of landscape fabric and lay it across the front of the pallet, just below a horizontal slat. Fold it up over the slat, then wrap it around the side and staple it to the back. Repeat this for every horizontal slat on the front of the pallet.
Make sure your staples are driven in deep. If the fabric is loose, the weight of the wet soil will cause the pockets to bulge and eventually tear. I recommend using a heavy-duty, woven landscape fabric rather than the thin, felt-like stuff, as it handles the weight of soil much better.
Step 3: Filling and Planting
Once your fabric pockets are secure, it is time to add the growing medium. Do not use straight garden soil from your backyard; it is too heavy and lacks the drainage required for container gardening. Instead, use a high-quality potting mix designed for containers. A mix containing peat moss, perlite, or vermiculite will provide the aeration your herbs need.
To fill the pockets effectively, I recommend a two-step process. First, tilt the pallet upright (you may need a partner for this). Once it is standing, pour the potting mix into the top of each pocket. Use a stick or a garden trowel to push the soil down into the corners of the fabric. If you just pour it in, you will end up with large air gaps that cause roots to dry out. You want the soil to be densely packed but still aerated.
When planting, start from the bottom and work your way up. This allows you to use the bottom pockets for herbs that can handle slightly more moisture, like mint or parsley, and the top pockets for herbs that prefer well-draining soil, like thyme or oregano. When you place a seedling into the pocket, make sure the roots are fully submerged in the soil before you move to the next one. If the pallet is leaning against a wall, ensure there is a small gap between the wood and the wall to allow for airflow and to prevent moisture buildup on your siding.
Maintenance and Care Tips
Vertical gardens dry out much faster than traditional ground gardens. Because the surface area is exposed to more air, evaporation happens quickly. You will need to check the moisture levels of your herbs frequently. A good rule of thumb is to stick your finger an inch into the soil; if it feels dry, it's time to water.
Watering Technique: When watering a vertical garden, water from the top down. The water will naturally trickle through the fabric and the different layers, ensuring the bottom herbs get a drink too. However, be careful not to overwater the bottom pockets, as they can become waterlogged if the drainage is insufficient. If you notice water pooling at the base of the pallet, you may need to add more perlite to your next batch of soil to increase drainage.
Fertilizing: Herbs generally don't need much fertilizer, but since they are in a confined space, the nutrients in the potting mix will eventually be depleted. Use a liquid seaweed or fish emulsion fertilizer once every six weeks during the growing season. This provides a gentle boost without the risk of chemical burn.
Pruning: To keep your herbs productive, you must harvest them correctly. Don't just pull leaves off; snip the stems just above a leaf node. This encourages the plant to branch out, making your vertical garden look fuller and more lush. If a plant like basil starts to flower, pinch the flowers off immediately to prevent the plant from becoming woody and losing its flavor.
Troubleshooting Common Issues
Issue: The herbs are turning yellow.
This is usually a sign of either too much water or a lack of nitrogen. If the soil is constantly soggy, you aren't draining well enough. If the soil is dry but the plant is yellow, you likely need to add a bit of organic fertilizer.
Issue: The pallet is leaning or sagging.
If you haven't secured the pallet to a sturdy structure, the weight of the wet soil will inevitably cause it to tilt. I recommend using heavy-duty masonry screws or specialized deck screws to anchor the back of the pallet to a wooden fence or a wall stud. This keeps the garden upright and safe.
Issue: Pests are attacking the herbs.
In a vertical garden, pests like aphids can travel easily from one pocket to another. If you see an infestation, a simple spray of water and a little bit of neem oil can usually clear them up. Since these are edibles, avoid using harsh chemical pesticides that could leave a residue on your food.
Building a vertical herb garden is a rewarding way to add utility and style to your outdoor space. It’s a project that requires more attention to detail than a standard raised bed, but the result is a lush, living wall of flavor right at your fingertips. Grab a pallet, get some high-quality soil, and start growing.