Why Your Backyard Needs a Moonlit Glow: Designing a Low-Light Evening Sanctuary

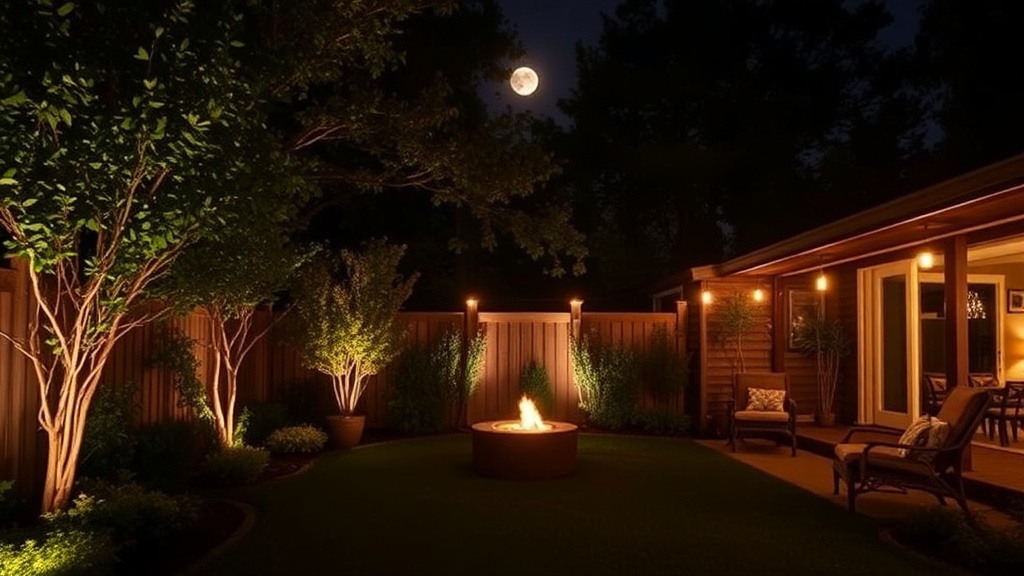
Imagine standing on your back deck at 8:30 PM. The sun has dipped below the fence line, the temperature has dropped a few degrees, and the neighborhood is settling into a quiet hum. You want to sit down with a book or a glass of iced tea, but you can’t see the edge of your stone patio, and the heavy shadows under your oak trees feel a bit too imposing. The space feels cavernous and disconnected because the light is either non-existent or, conversely, a single, harsh floodlight from the neighbor's garage is washing out the natural beauty of your yard. This is the gap between a functional backyard and a true evening sanctuary.
Designing for low-light environments isn't about brightness; it is about the strategic placement of light sources to create depth, safety, and ambiance. Most homeowners make the mistake of over-lighting. They install high-wattage LED floodlights that blind anyone sitting in the seating area, or they string cheap, bright white fairy lights that look like a carnival rather than a retreat. To build a professional-grade evening landscape, you need to think in layers: task lighting, path lighting, and accent lighting.
The Three Layers of Evening Landscape Design
To create a sense of depth, you must treat your backyard like a multi-dimensional room. In an indoor living room, you have overhead lights, floor lamps, and perhaps a small reading light. Your backyard requires the same logic.
1. Path and Safety Lighting (The Foundation)
Before you worry about the "pretty" lights, you have to ensure your guests don't trip over a stray root or a loose flagstone. Path lighting serves a functional purpose. I recommend using low-voltage LED path lights with a warm color temperature—look for something around 2700K. Anything higher, like 5000K, will look like a sterile hospital parking lot.
When installing path lights, do not place them in a straight, rhythmic line like a runway. This looks artificial. Instead, stagger them. If you have a walkway made of flagstone or pavers, place a light every 6 to 8 feet, slightly off-center from the path. This creates a softer, more organic glow that guides the eye without being distracting. If you are working with a gravel path, consider recessed well lights that sit flush with the ground to minimize trip hazards.
2. Accent and Architectural Lighting (The Character)
This is where you add the "wow" factor. Accent lighting is used to highlight the textures and shapes that make your yard unique. If you have a beautiful Japanese Maple or a textured stone retaining wall, you want to draw attention to it.
- Up-lighting: Place a directional spotlight at the base of a tree, aiming upward through the branches. This creates dramatic shadows and makes the tree look much larger and more significant at night.
- Moonlighting: This is a professional technique where lights are mounted high up in a tree canopy, pointing downward. It mimics the soft, diffused light of a full moon, casting gentle shadows across your lawn and patio.
- Wall Washing: If you have a wooden fence or a brick wall, use a grazing light technique. Position a light close to the surface to highlight the texture of the material. This adds a sense of enclosure and warmth to your outdoor room.
3. Task Lighting (The Function)
Task lighting is dedicated to specific activities. If you have an outdoor kitchen or a dining table, you need enough light to see your steak or your salad, but not so much that it ruins the mood. I often suggest installing dimmable pendant lights over outdoor dining tables. If you are building a custom outdoor kitchen, integrate recessed LED strips under the lip of your granite countertops. This provides enough light to prep food without needing a bulky, bright overhead fixture that destroys the evening ambiance.
Choosing the Right Hardware and Materials
When you are buying lighting, don't just look at the price tag. Look at the build quality. A lot of the cheap solar-powered lights you see at big-box retailers are made of thin plastic that will crack after one winter in a place like Chicago or Denver. They are fine for a single season, but if you want a permanent installation, you need to invest in professional-grade components.
Voltage Matters: For most residential projects, a 12-volt low-voltage system is the standard. It is safe, easy to install, and doesn't require a licensed electrician for the basic layout (though a professional can certainly help with the hardwiring to the main house). A transformer is the heart of this system; it converts your standard 120V house power down to the safe 12V used by your landscape lights. Ensure your transformer has enough wattage to handle your entire circuit plus a 20% "headroom" for future additions.
Material Durability: Look for fixtures made from solid brass or heavy-duty aluminum. If you are installing lights near a water feature or in a high-moisture area of the garden, ensure they have an IP65 or higher waterproof rating. This ensures the internal circuitry stays dry during heavy rainstorms or when you're running your irrigation system.
The Importance of Color Temperature and CRI
One of the biggest mistakes I see is the use of "cool white" or "daylight" bulbs. While these are great for a garage or a workshop, they are the enemy of a relaxing backyard. Cool light has a high blue content, which can actually suppress melatonin production and make it harder to wind down for sleep.
For a sanctuary, you want "Warm White" (2200K to 3000K). This spectrum mimics the glow of a sunset or a candle, which naturally signals to the brain that it is time to rest. Additionally, pay attention to the Color Rendering Index (CRI). A high CRI (90 or above) means the light will show the true colors of your plants and stone. If you have a deep red rose bush or a vibrant green hosta, a low-CRI light will make them look dull and grayish, whereas a high-CRI light will make the colors pop even in low light.
Integrating Lighting with Your Garden Maintenance
Lighting and gardening go hand-in-hand. As your plants grow, your light patterns will change. A light that perfectly illuminates a shrub today might be blocked by a branch six months from now. This is why I always recommend adjustable heads on your spotlights.
Furthermore, the health of your plants affects how they interact with light. For example, if you are growing heavy-feeding plants like roses or fruit trees near your light fixtures, you need to ensure your maintenance routines don't interfere with the electrical components. If you are working with soil amendments, such as using coffee grounds in the garden to boost nitrogen, be careful not to wash or splash organic matter into your light housings, as this can lead to buildup and reduced light output.
Common Pitfalls to Avoid
- The "Light Pollution" Effect: Don't point your lights toward your neighbor's windows. It's rude, and it can actually cause friction with the people living next to you. Always aim your light downward or into your own landscape.
- Ignoring Shadows: Shadows are just as important as light. A yard with zero shadows looks flat and artificial. Use your lights to create "pools" of light, leaving some areas in soft shadow to create mystery and depth.
- Over-reliance on Solar: While solar lights are great for temporary decor, they rarely have the consistency or the brightness required for a permanent landscape design. They often die out halfway through the night just when you are actually using the space.
- Neglecting the Controller: Don't just plug everything into a single outlet and leave it. Use a smart timer or a photocell sensor. A photocell will automatically turn your lights on at dusk and off at dawn, ensuring your sanctuary is always ready for you without you having to lift a finger.
A Final Pro-Tip: The "Dark Test"
Before you commit to buying dozens of fixtures, perform a "dark test." Go out into your backyard at night—ideally after the sun has been down for at least an hour—and walk through the space. Notice where it feels too dark or where a shadow feels a bit too heavy. Take a high-powered flashlight with you. Use the flashlight to mimic the placement of the lights you are considering. Shine it up into a tree, or along a path. This will give you a much better sense of how the light will actually behave in your specific space before you spend a dime on permanent hardware.
Creating a low-light sanctuary isn't about how much light you can throw at a problem; it's about how much atmosphere you can create with intention. By layering your lighting, choosing the right color temperatures, and investing in quality materials, you turn a simple backyard into a sophisticated, multi-functional outdoor room.