How to Build a Simple Cedar Raised Bed Garden

Building a Productive Garden with Cedar Raised Beds
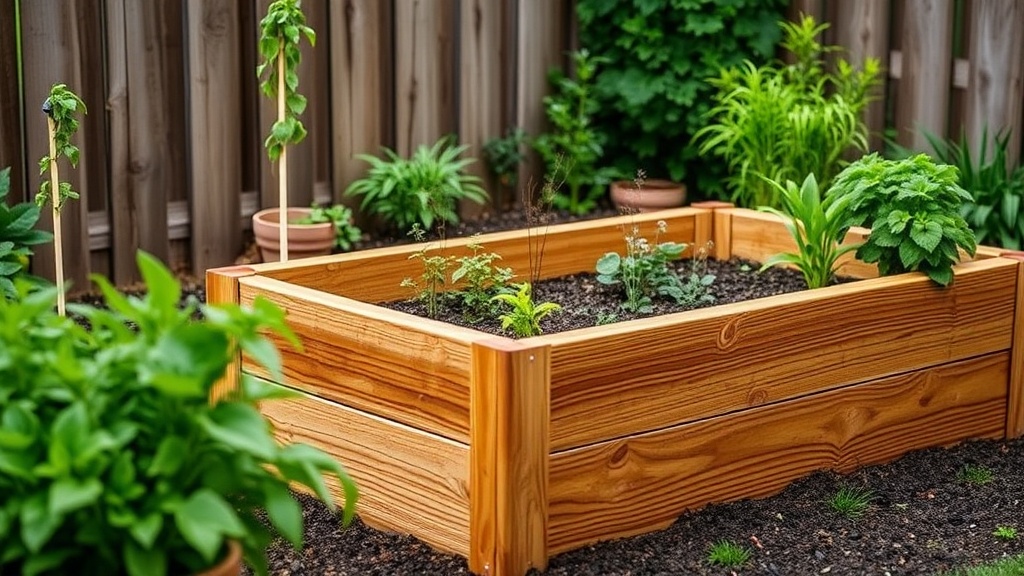
A standard backyard garden often fails because of poor soil quality or drainage issues. If you are working with heavy clay or rocky ground, trying to plant directly into the earth is a losing battle. A cedar raised bed solves this by allowing you to control the environment from the ground up. This guide provides the exact dimensions, material list, and assembly steps required to build a 4x8 foot raised bed that will last for a decade or more. Using Western Red Cedar is critical here because it contains natural oils that resist rot and insects without the need for toxic chemical treatments.
Raised beds are more than just wooden boxes; they are highly efficient growing systems. They provide better drainage, warmer soil in the early spring, and much easier access for weeding and harvesting. Whether you want to grow heirloom tomatoes, leafy greens, or culinary herbs, starting with a solid wooden structure is the best way to ensure a successful growing season.
The Essential Tool and Material List
Before you head to the local lumber yard or a big-box store like Home Depot, you need to gather your supplies. Do not settle for pressure-treated pine if you plan on growing edible vegetables; while modern pressure-treated wood is safer than it used to be, cedar is the gold standard for organic gardening. You will also need a few specific tools to ensure the corners are square and the structure is sturdy.
Lumber and Hardware
- (3) 2x6 Cedar Boards (8 feet long): These will form the long sides of your bed.
- (3) 2x6 Cedar Boards (4 feet long): These will form the short ends. (You can also buy 8-foot boards and cut them in half yourself).
- (4) 4x4 Cedar Posts (2 feet long): These act as the corner supports and provide structural integrity.
- (1) Box of 3-inch Exterior-Grade Wood Screws: Look for stainless steel or ceramic coated screws to prevent rusting and "bleeding" through the wood.
- (1) Roll of Hardware Cloth (1/2 inch mesh): This is essential if you have trouble with gophers or moles.
Tools Required
- Power Drill/Driver: For driving the exterior screws.
- Circular Saw or Miter Saw: To cut your boards to the correct lengths.
- Tape Measure and Carpenter's Square: A square is non-negotiable if you want your corners to be 90 degrees.
- Level: To ensure your bed sits flat on the ground.
- Drill Bit (1/8 inch): For pre-drilling pilot holes to prevent the cedar from splitting.
Step 1: Site Preparation and Layout
Do not just drop the wood on top of your grass and call it a day. If you do, the weight of the wet soil will eventually cause the wood to shift or the bed to tilt. First, choose a location that receives at least 6 to 8 hours of direct sunlight. Most vegetables, especially peppers and tomatoes, require high light levels to produce fruit.
Once you have selected the spot, clear the area of large rocks and weeds. You do not need to dig up the grass entirely, but you should flatten the ground. I recommend using a shovel to create a slight depression where the bed will sit, ensuring the weight is distributed evenly. If your yard has a significant slope, you may need to dig out a small amount of soil on the "high" side so that the finished bed sits level. A level bed is vital; if it is tilted, water will pool at one end, leading to root rot in your plants.
Step 2: Cutting and Pre-Drilling
If you haven't had the lumber yard pre-cut your boards, it is time to get to work. You want your 2x6 boards to be exactly 8 feet for the sides and 4 feet for the ends. However, there is a crucial detail regarding the corner posts. The 4x4 posts should be cut to the height of your bed. Since a 2x6 is actually 5.5 inches wide, and you are stacking two of them, your bed will be 11 inches tall. Cut your 4x4 posts to 11 inches.
Before you drive any screws, you must pre-drill your holes. Cedar is a relatively soft wood, but it is prone to splitting near the ends. Using a 1/8-inch drill bit to create a pilot hole ensures that your screws hold the wood together without cracking the grain. This is a step many DIYers skip, and it is the primary reason why cheap garden beds fall apart after one season.
Step 3: Assembling the Frame
Lay out your boards on a flat surface, like a garage floor or a driveway, to make assembly easier. Place one 4x4 post in the corner. Position one 8-foot board against the post and one 4-foot board against the same post. This creates an "L" shape.
- Attach the first corner: Drive two or three 3-inch screws through the 8-foot board into the 4x4 post. Then, drive two screws through the 4-foot board into the same post.
- Build the rectangle: Repeat this process for all four corners. You should now have a rectangular frame with a 4x4 post at every corner.
- Check for square: This is the most important part of the build. Take your carpenter's square and place it in the corners. Measure diagonally from one corner to the opposite corner, then measure the other two corners. If the two diagonal measurements are identical, your bed is perfectly square. If they aren't, nudge the frame until they match.
- Reinforce the middle: For a 4-foot wide bed, the weight of the soil can cause the long side boards to "bow" outward over time. To prevent this, I recommend cutting a small scrap piece of 2x4 or a cedar stake and driving it into the ground halfway down the 8-foot side to act as a center brace.
Step 4: Installing the Protective Liner
If you live in an area with burrowing pests like voles, moles, or gophers, your raised bed is an open invitation to them. Before you add soil, you need to line the bottom and sides of the bed with hardware cloth. This metal mesh is much more durable than chicken wire and will not degrade in the soil.
Lay the hardware cloth across the bottom of the wooden frame. Staple the mesh to the inside of the 2x6 walls using a heavy-duty staple gun or use galvanized masonry nails to secure it to the 4x4 posts. This creates a barrier that prevents pests from tunneling up into your vegetable roots. If you are building multiple beds, you might also consider creating a vertical herb garden nearby to maximize your growing space once these beds are established.
Step 5: Filling the Bed with High-Quality Soil
The biggest mistake people make with raised beds is filling them with "topsoil" from their yard. Topsoil is often too dense and lacks the aeration needed for container-style growing. Instead, you want a specialized raised bed mix. A professional-grade mixture typically consists of 50% high-quality compost, 30% topsoil, and 20% organic matter like peat moss or coconut coir.
For a 4x8 foot bed that is 11 inches deep, you will need approximately 25 to 30 cubic feet of soil. I recommend buying soil in bulk from a local landscaping supply company rather than buying individual 1-cubic-foot bags at the store. It is significantly cheaper and much easier on your back. When filling the bed, do not fill it all the way to the absolute brim. Leave about an inch of space at the top to prevent soil and water from spilling over the sides during heavy rain or irrigation.
Maintenance and Longevity Tips
While cedar is naturally rot-resistant, you can extend the life of your raised bed even further with proper care. Every spring, check the corners for any signs of shifting. If the soil has settled, add a fresh layer of compost to the top to replenish nutrients. If you notice the wood is starting to look weathered, you can apply a food-safe, non-toxic wood sealer, but for most vegetable gardens, the raw cedar performs beautifully on its own.
If you find yourself with extra space in your yard after completing this project, you can use similar woodworking techniques to expand your garden decor. For example, you could use old windows as garden decor to add vertical interest or even create a trellis system against the back of your new raised bed. The goal is to create a cohesive, functional outdoor space that works for you.
Building a raised bed is a fundamental skill for any home gardener. It moves you from being a person who simply "has a garden" to someone who "manages a growing system." Once you have these cedar beds in place, you will see a massive difference in your harvest quality and the ease of your gardening routine.
Steps
- 1
Gather your cedar lumber and tools
- 2
Cut the wood to your desired dimensions
- 3
Assemble the frame using exterior-grade screws
- 4
Line the bottom with hardware cloth to deter pests
- 5
Fill with high-quality garden soil and compost